|
 |
The Memotech MTX Series |
 |
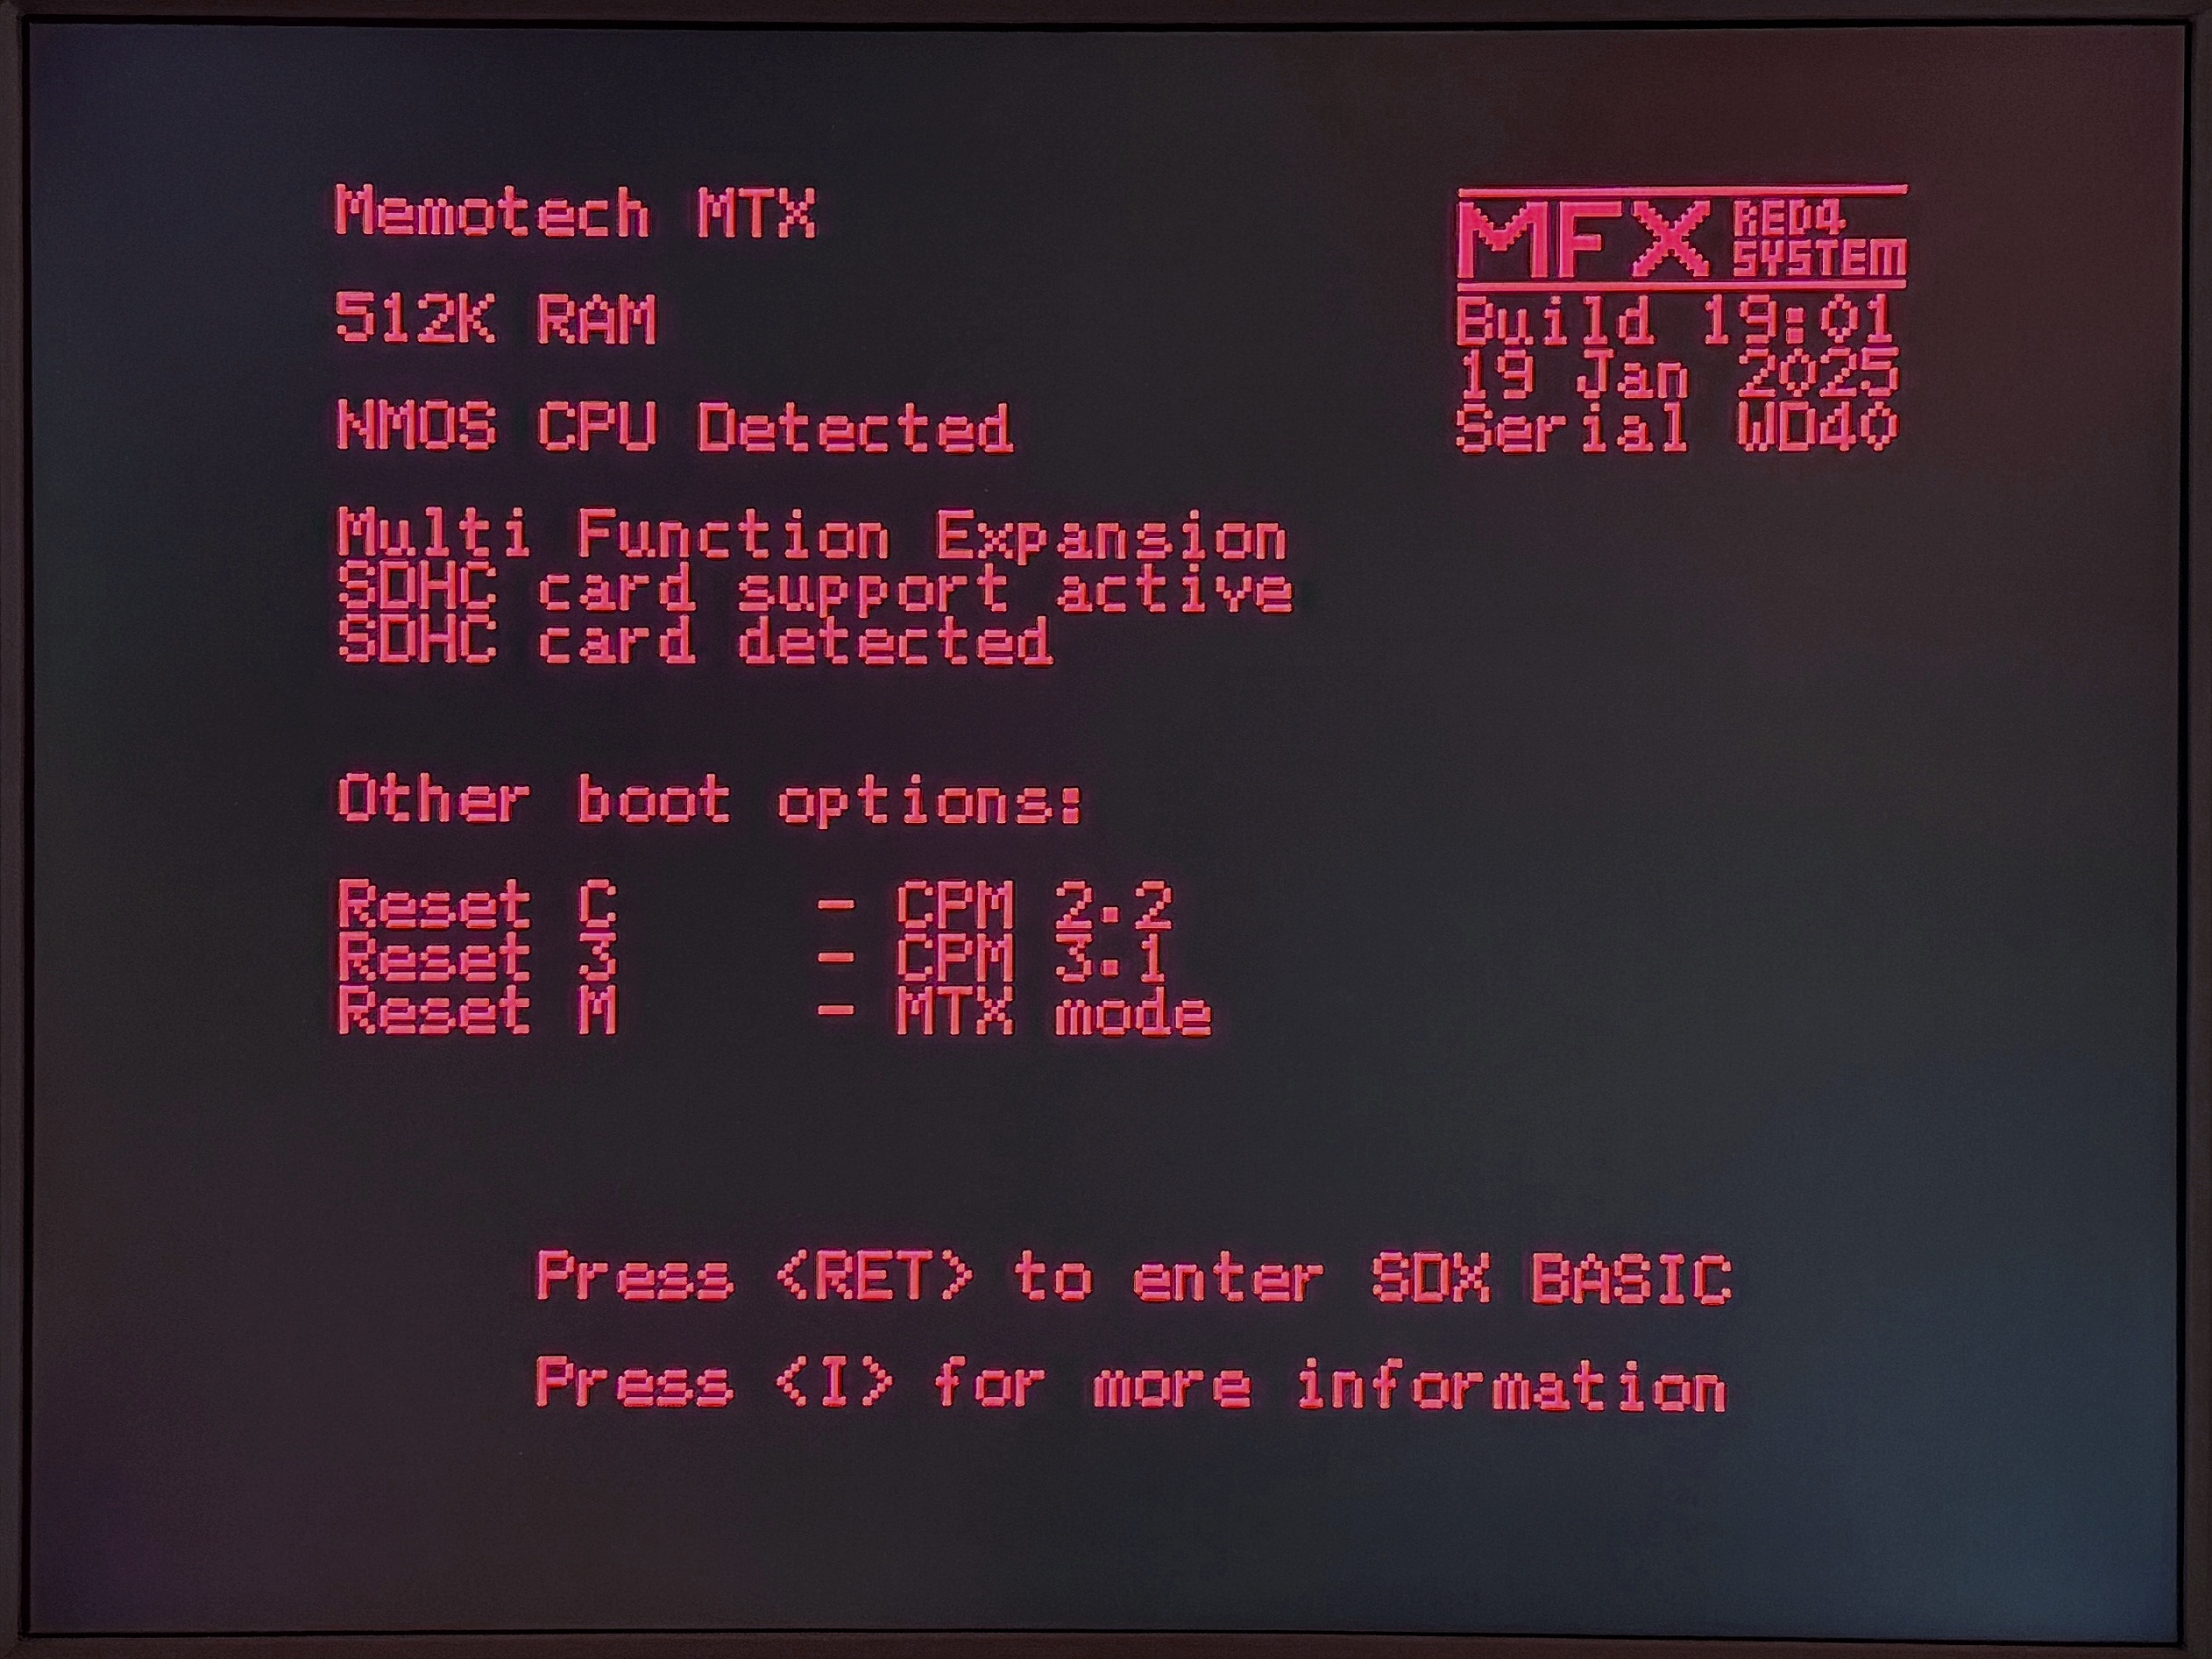
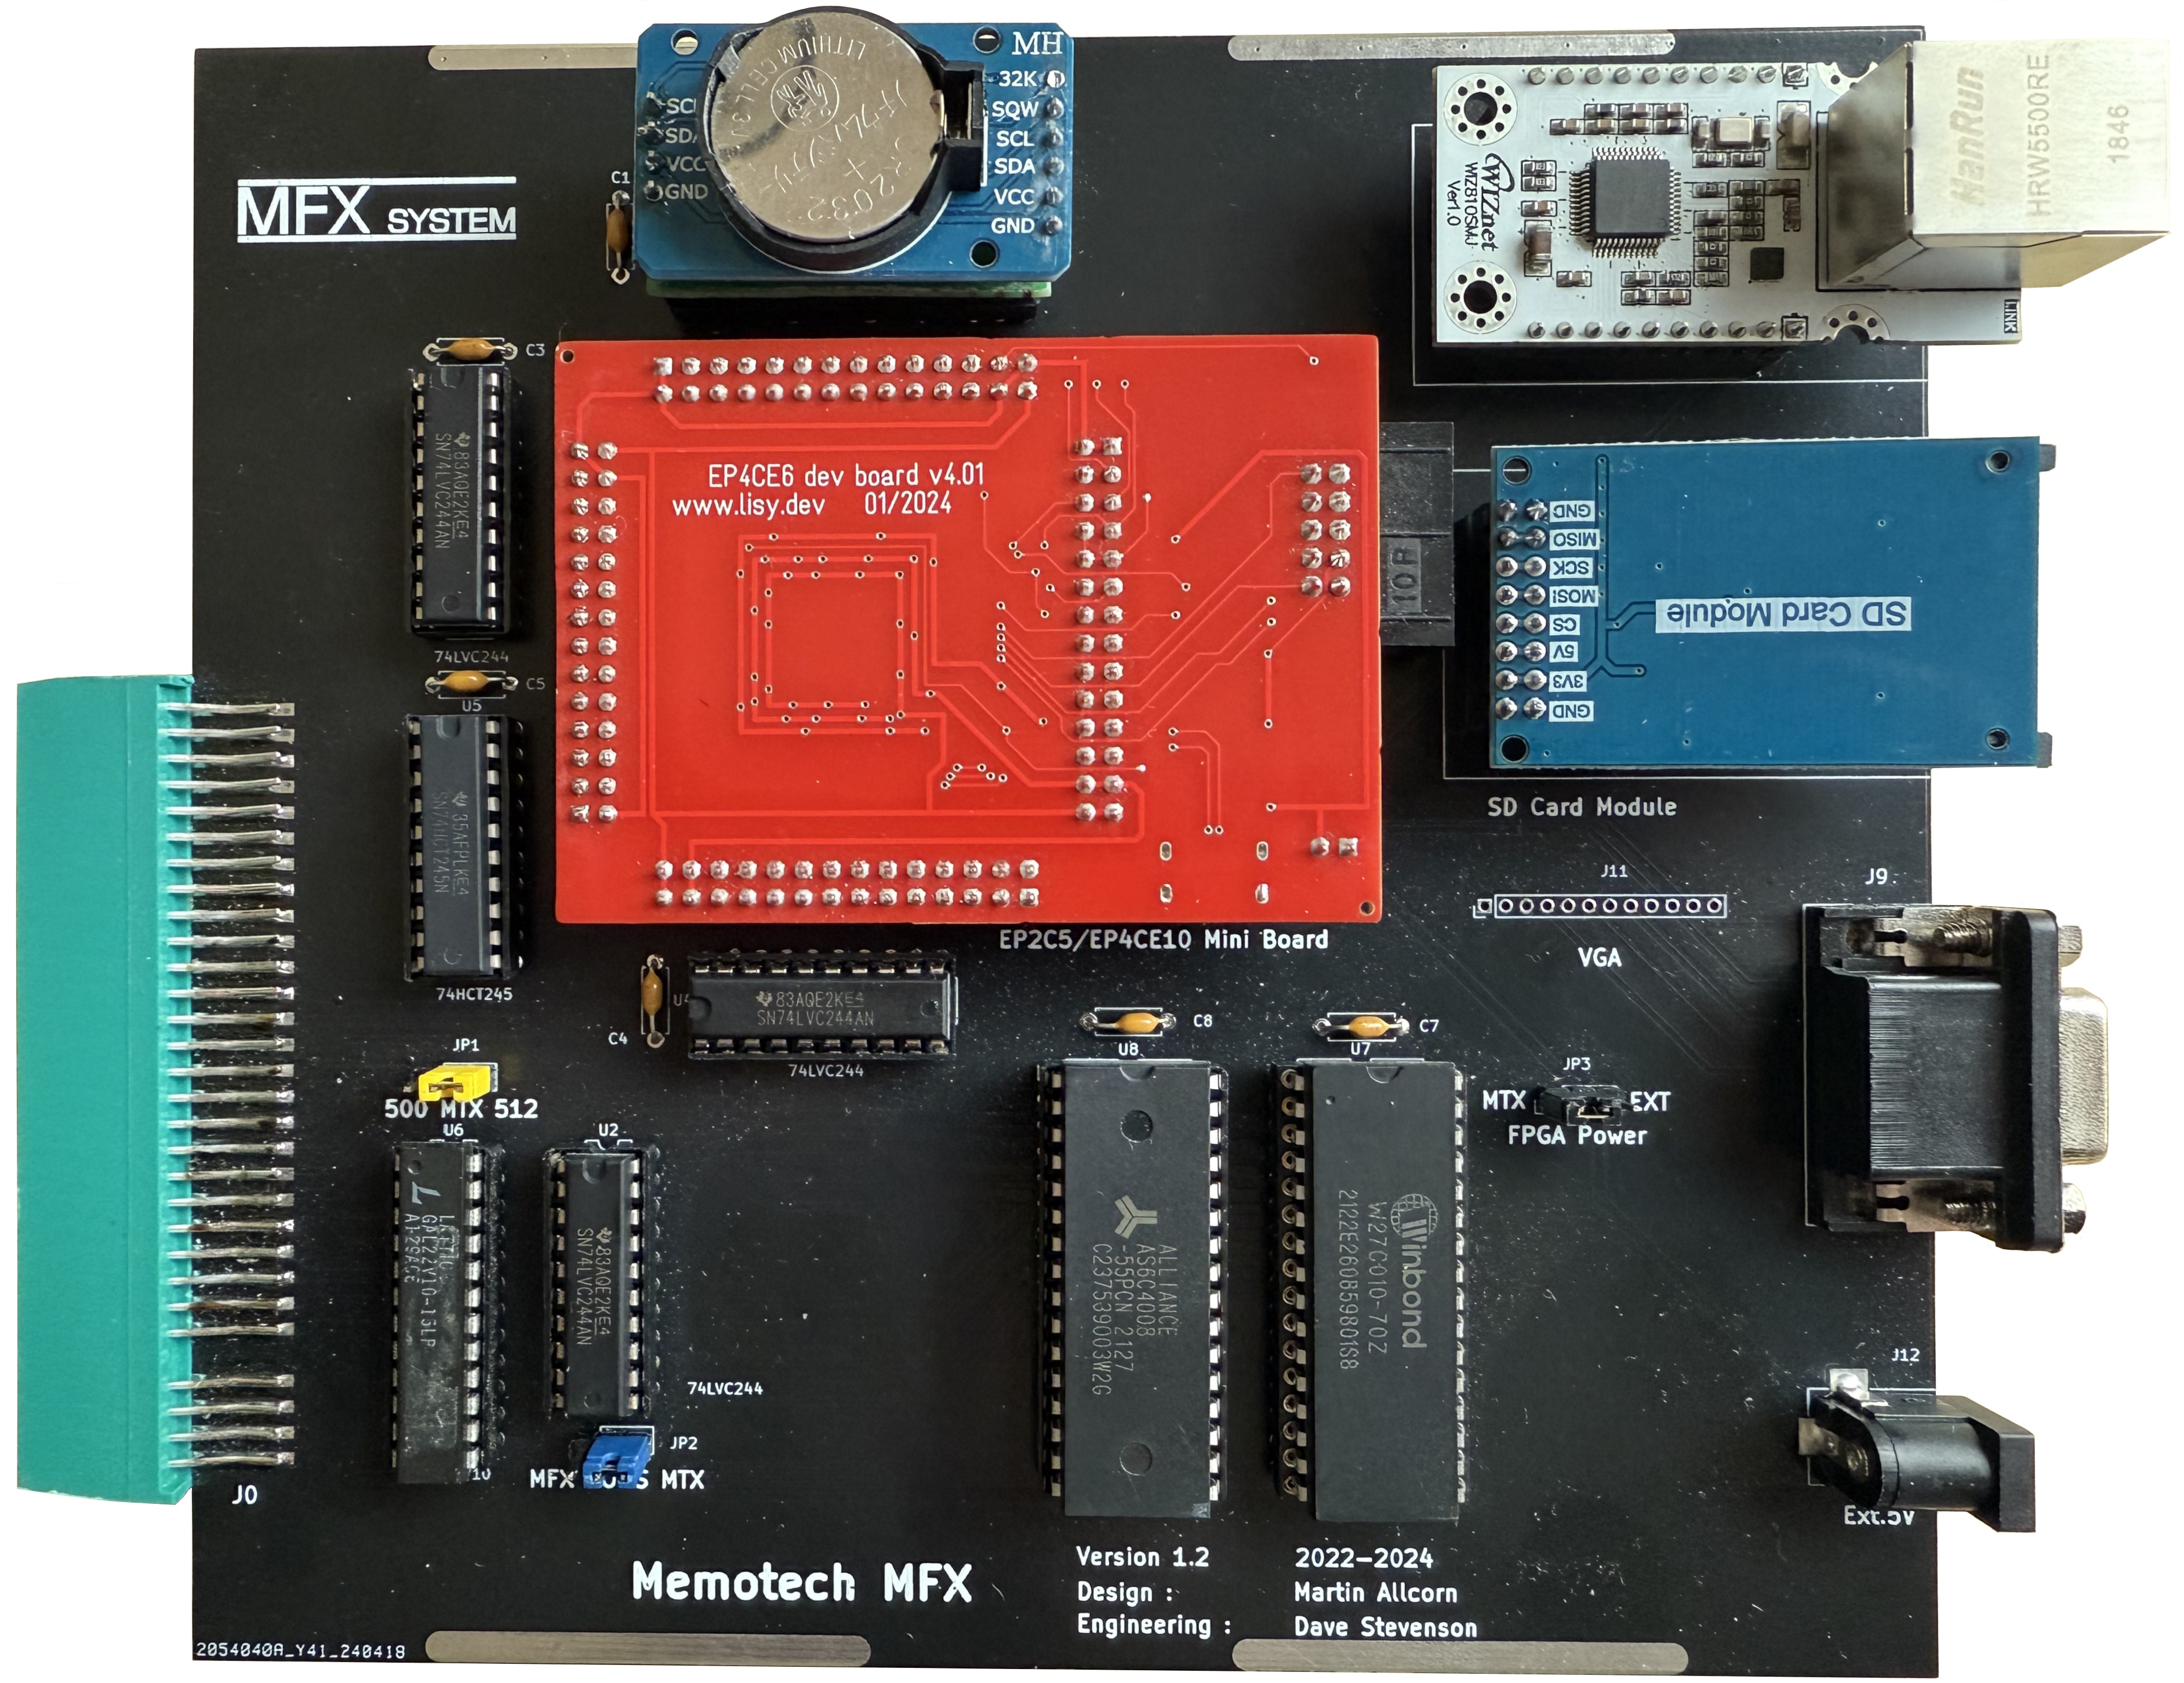
Memotech Multi-Function Expansion System
MFX CP/M 3 (CP/M Plus)
one ?)
Using CP/M 3 on MFX
This page is not intended to be a full usage guide to CP/M 3,
rather, it was written to describe the most useful aspect of
CP/M 3 for MFX users with a Real Time Clock installed, the
ability to use file time/date stamping. For a full description
of CP/M 3 commands, see the
CP/M Plus Command
Reference Manual.
Date/Time Reporting
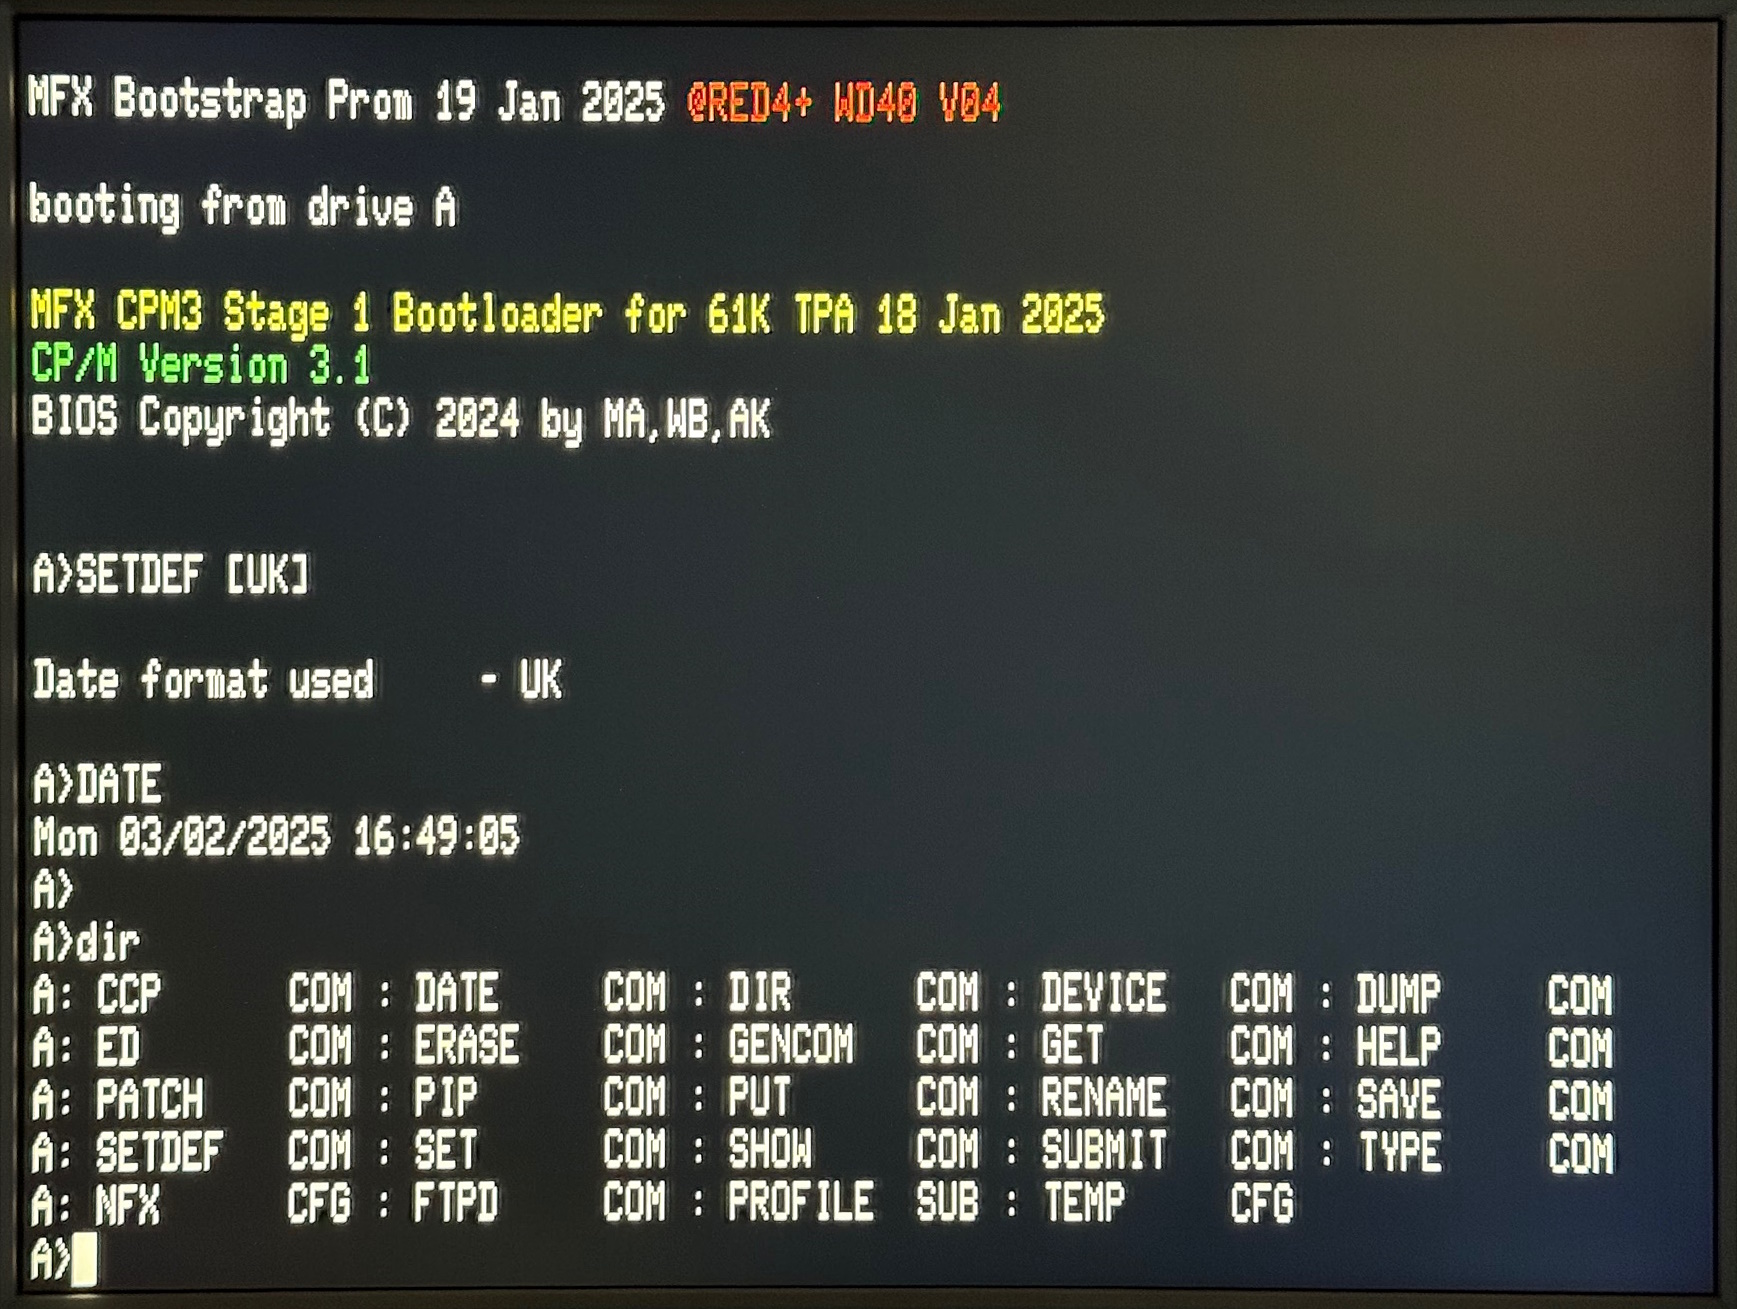
The DATE
command returns the current Date and Time from the Real Time
Clock. At this point, it is not possible to set the RTC from
CP/M, that must be done from SDX BASIC using the
USER RTX commands.
Date Format
As might be expected, the default date
format used in CP/M 3 is US format, i.e., mm/dd/yy.
However, the SETDEF command may be used to set the format to UK,
i.e., dd/mm/yy.
SETDEF [UK]
The Date functions include the CP/M 3
patches that introduced Y2K compatibility so dates post the
milleninum are fully supported.
File Date/Time Stamping
Date/Time stamping is not enabled by
default as there is a trade off to be made when opting to use
this function. The Date/Time stamps are stored in one of CP/M
3's file directory areas, reducing the number of areas from 4 to
3. For the 4MB CP/M 3 partitions used in MFX, this reduces the
number of files that can be stored (i.e., the number of
directory entries) on the "disk" from 256 to 192.
Before a particular "disk" can use
Date/Time stamps, the INITDIR command
must be used
e.g., INITDIR B:
This command only prepares the
disk for timestamping, for any files already on the disk, the
actual timestamps will remain blank until further commands are
issued.
There are three options available for the
timestamps that are enabled using the SET
command
| Option |
Function |
|
[CREATE=ON] |
Turns on CREATE time stamps on
the disk in the default or specified drive. To record
the creation time of a file, the CREATE option must be
turned on before the file is created. |
|
[ACCESS=ON] |
Turns on ACCESS time stamps on
the disk in the default or specified drive. ACCESS and
CREATE options are mutually exclusive; only one can be
in effect at a time. If you turn on the ACCESS time
stamp on a disk that previously had CREATE time stamp,
the CREATE time stamp is automatically turned off. |
|
[UPDATE=ON] |
Turns on UPDATE time stamps on
the disk in the default or specified drive. UPDATE time
stamps record the time the file was last modified. |
Examples
A>SET [ACCESS=ON]
A>SET [CREATE=ON,UPDATE=ON]
SET {d:} [UPDATE=ON|OFF]
Autoexec.bat - the CP/M 3
equivalent
On startup, CP/M 3 looks for a startup
command file called profile.sub, this
file can contain an optional list of CP/M commands (.com files) that are
to be run when the system starts. These commands are executed in
turn by the SUBMIT program. To have
the system use UK date format and display the current Date/Time,
I have created a profile.sub file that contains the following
commands :
SETDEF [UK]
DATE
References
1. S100 Computers
website A useful
resource for generic CP/M programs and documentation
|