|
 |
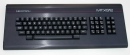
The Memotech MTX Series |
 |
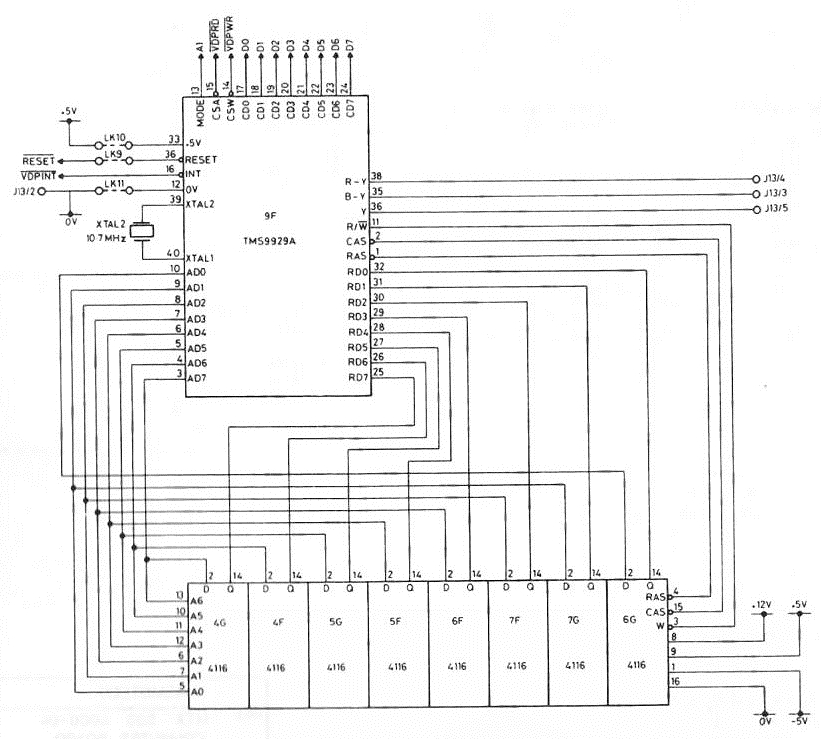
Memotech MTX Video RAM Fault Diagnosis / Repair
Documents the repair of David Kimberlin-Wyer's
MTX500s
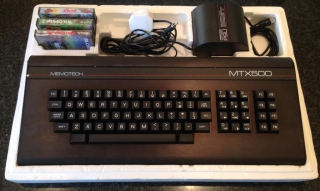
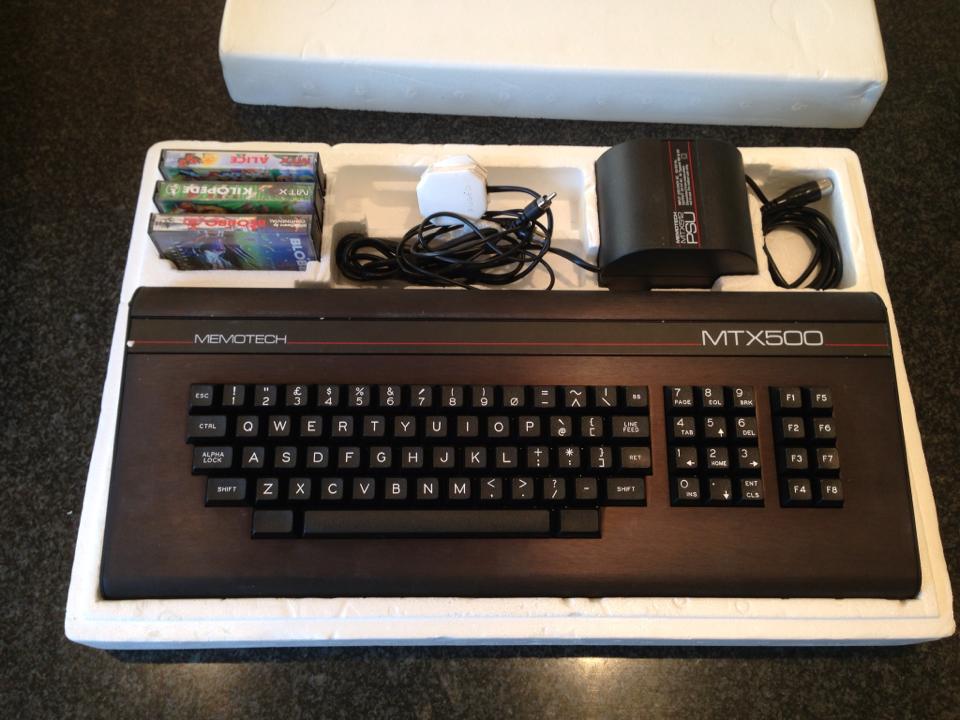
System Description : MTX 500 Serial No.18439, 4000-04
computer board with 32k DRAM chips.
Problem Description : Corrupted video screen
Background
David bought two MTX500s, sold on eBay as pair, but with only one
power supply between them. The ebay description included the
words :- "Have powered both up but cant remember how to get them
going, they both showed screen with ready in bottom left corner,
so sold as untested."
In reality, when they arrived, both machines displayed
similar corruption on the screen, a sceptic might doubt the
veracity of the statement in the advert, but anyway . . .
. . . .
|
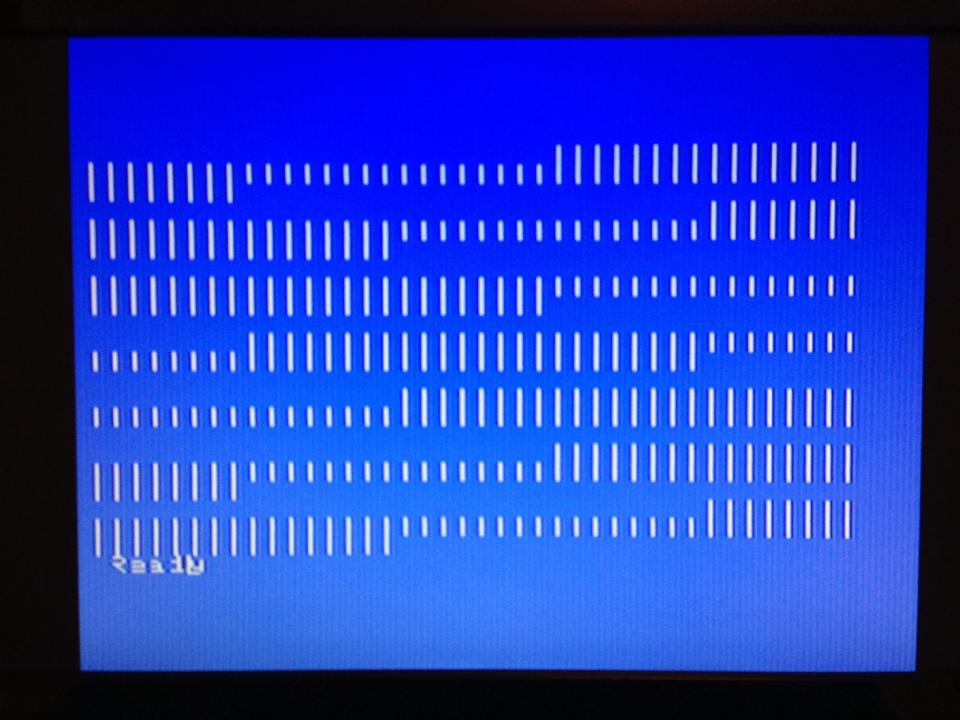
MTX500 Serial Number 18439 4000-04 computer
board with 32k DRAM chips. (Output from the Monitor
connection) |
 |
|
MTX500 Serial Number 16153 4000-05 computer board
with 32k DRAM chips. (Output from the Monitor
connection)
[This machine also loses colour (blue fading to
grey) 10-15 minutes after being turned on. * ] |
 |
MTX Display Hardware
Memotech MTX computers use a dedicated Video
Display Processor (VDP), either a Texas Instruments
TMS9929A
(PAL versions) or
TMS9918 (NTSC versions), with 16kb of
dedicated TMS4116 or equivalent Video RAM (VRAM). An
overview of the VDP hardware can be found on
this page, and full
circuit diagrams can be found in the
MTX User and Service manuals.

The VDP requires only a +5V supply but the
VRAM requires +5V, +12V and -5V. The TMS 4116 datasheet
states that -5V must be applied before, or at the same time
as, the other voltages and removed last. Failure to follow
this this sequence will impact the long term reliability of
the RAM. Similarly, a DC supply failure can cause one or
more of the RAMs to fail prematurely.
Whether or not this is the cause, it does
appear that VRAM failures are commonly found to be the
source of the problem when investigating faulty MTX display
output. 4116 RAMs are also used in many other computers and
video games from the era, including the lower 16kb of RAM in
the ZX Spectrum where they also seem to be a common cause of
failure.
There is a wealth of information on fault
finding 4116 RAM faults, on the Spectrum in particular,
available on the web which can give useful pointers to
identifying problems with the MTX VRAM.
The relative temperatures of the RAM chips
can be an indicator of a faulty chip. In normal operation,
after the machine has been switched on for a while, all of
the VRAM should be warm to the touch (the VDP itself runs
very warm/hot in normal use). An internal short in one of
the RAM chips may lead to it running very hot when compared
to the rest.
As I mention on my
repairs overview page, if you have not referred to it
already, you should really look at the
MTX500/512 Service Manual,
this document is obviously the best available guide for
fault finding and repair of your MTX. Display faults are
discussed under "Symptom 3 - Corrupt Video Display or
Characters". The first and easiest thing to check is the
supply voltages, particularly the -5V supply, to the VRAM.
|
Troubleshooting Serial Number
18439 |
|
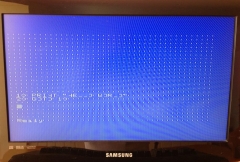
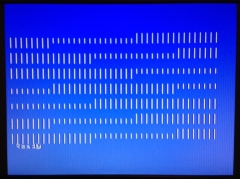
Screen corruption getting worse as the machine warms
up, this image is with the machine powered up when
warm.
The general consensus of opinion on the Memotech
MTX500 Facebook group was that this was probably a
VRAM fault but the VDP and other components could
not be ruled out at this stage. |
 |
|
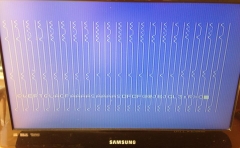
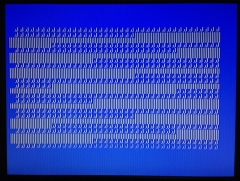
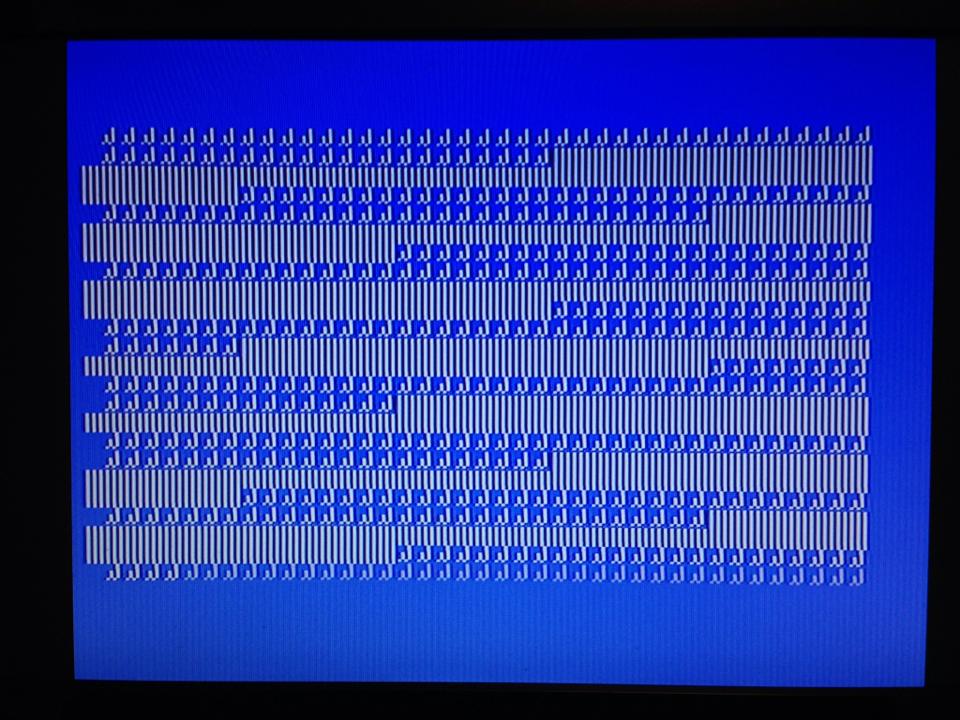
A number of tests were suggested to see if the
screen display could be used to give an indication
of where the fault might lie. This is the output
when a "W" was printed in every character location.
It was noted that the screen shows a repeating
pattern of 64 malformed characters, followed by 64
unknown characters. |
 |
|
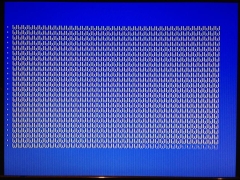
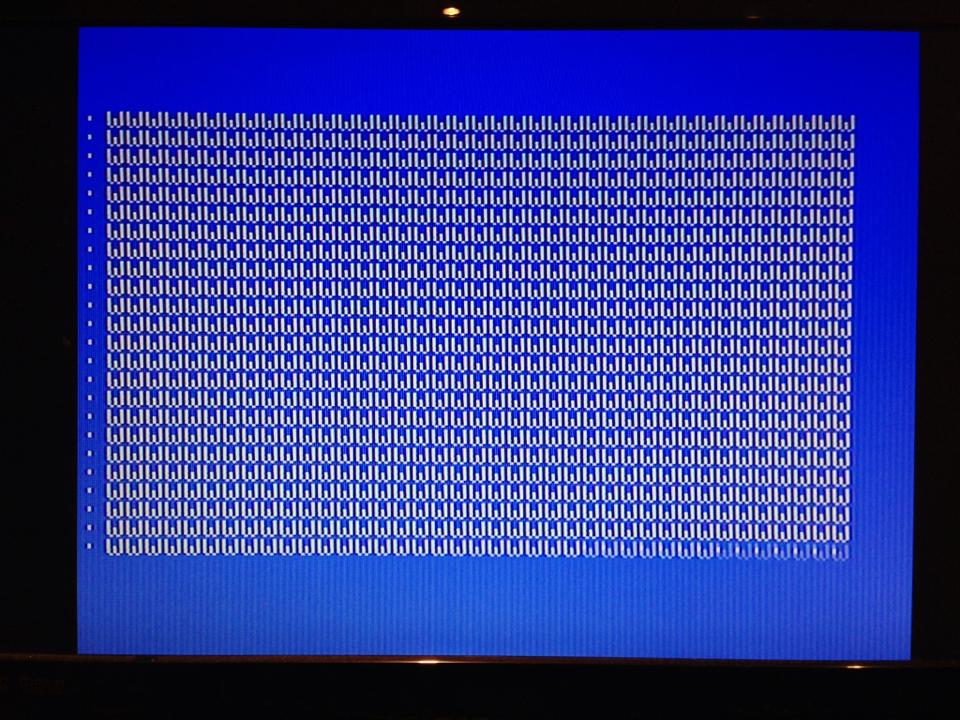
The same display when the program is run with the
machine still cold. |
 |
|
Display when the program stops - the "W" character
positions appear fine, but empty space characters
show "."s and the "Ready" text is corrupted. At
this point, (having just obtained a multi-meter),
the power supply voltages on the board were checked
an all appeared to be within expected values. |
 |
|
The Service Manual suggests using an oscilloscope to
check the signal on Pin 14 of any of the VRAMs, but this
will not be an option for folks without a 'scope.
The Service Manual also describes how to disable
each of the VRAMs in turn by earthing Pin 14 (via
a 10-15 ohm resistor!) and checking
whether the screen corruption reduces, the chip with
the least screen corruption when it is being earthed
is likely to be faulty and should be replaced. |
|
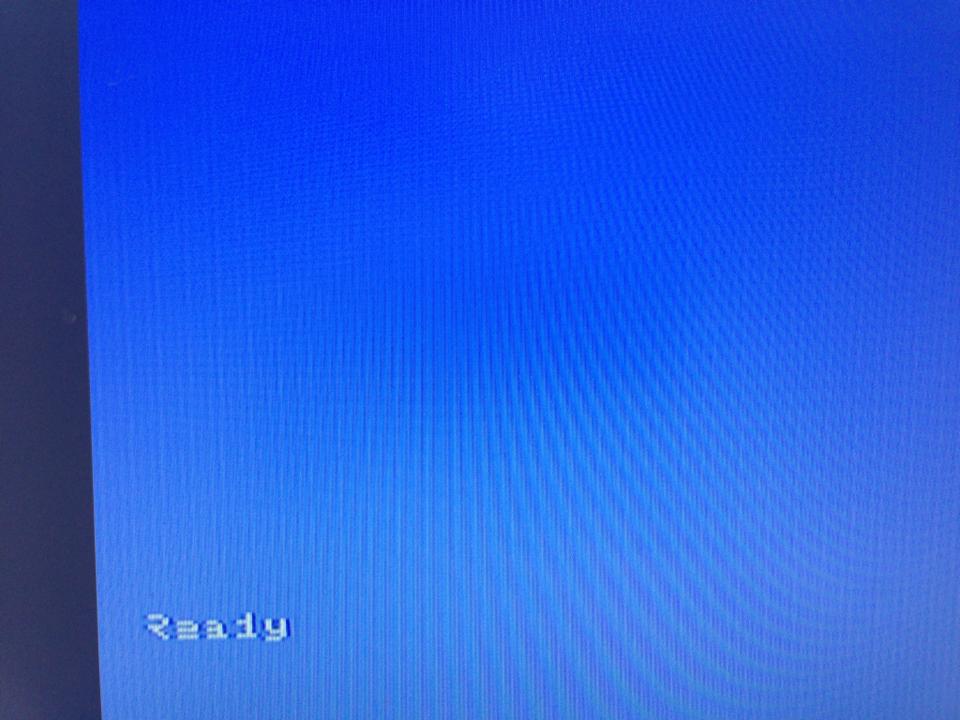
Display when Pin 14 one of the VRAMs is earthed via
a 10 ohm resistor. The "dot" pattern has
disappeared, although there is still some corruption
of the "Ready" text. Most of the ICs on the MTX
computer board, including the VRAMs are directly
soldered to the board making replacement somewhat
tricky. The easiest way is to snip the legs off the
IC and de-solder the legs one-by-one. |
 |
|
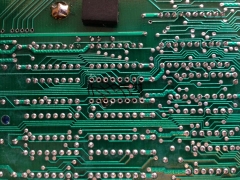
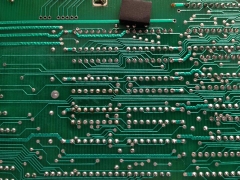
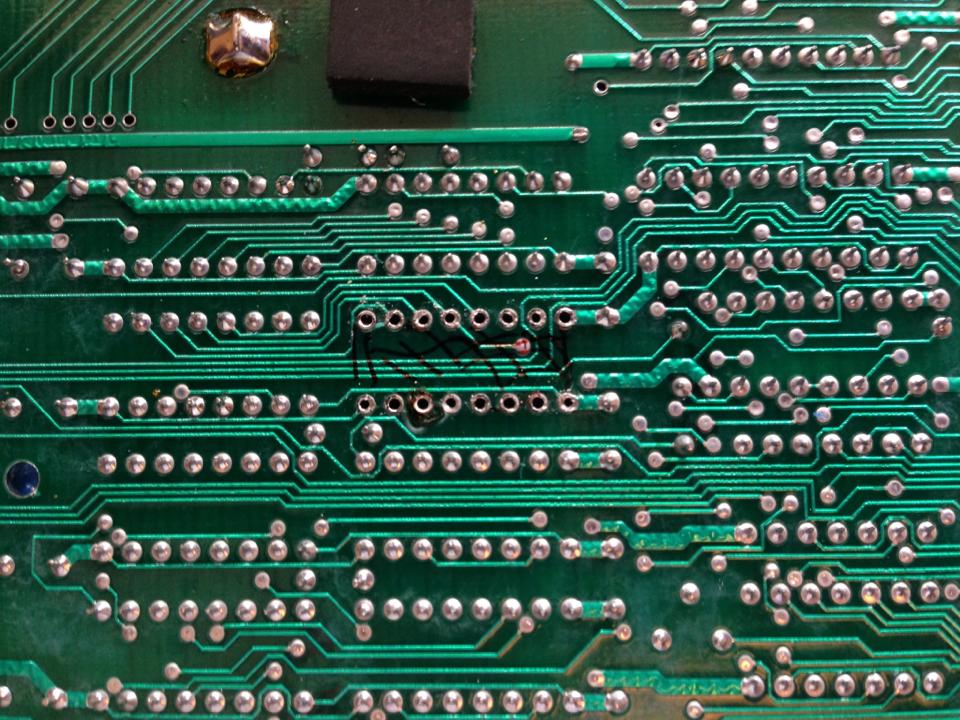
View of the solder side of the board showing the
location of the removed IC and the cleaned up holes
- good job! (This image is from the replacement of
one of the VRAMs in S/N 16153) |
 |
|
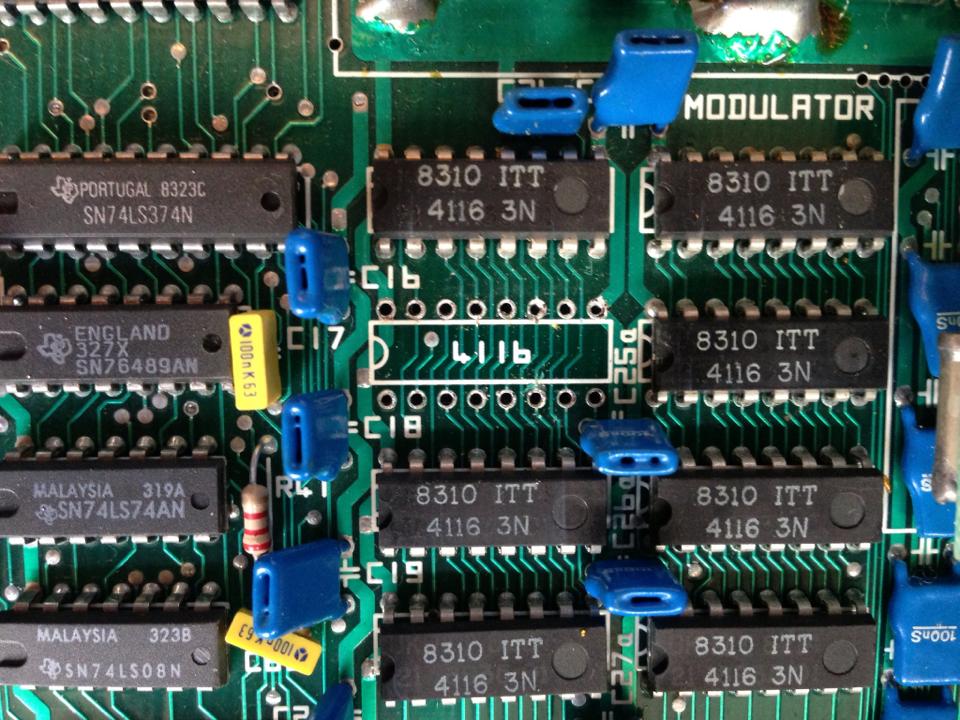
View of the component side of the board, after the
IC has been removed. |
 |
|
It is advisable to fit an IC socket in place of the
existing VRAM and install a new IC in the socket.
This makes future replacement easier and reduces the
chance of damaging the new IC when installing it.
(Note: the small inverted PCB on the right hand side
is the Video board, it can easily be removed if
better access to the VRAMs is required.) |
 |
|
View of the solder side of the board showing the new
socket in place - can you spot it? - Another good
job! |
 |
|
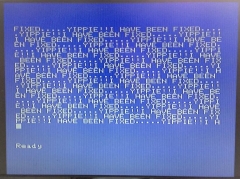
New VRAM installed, machine powered up and hey
presto ! - It works ! |
 |
|
All photos courtesy of David
Kimberlin-Wyer |
*A similar process as
described above was followed to effect repairs to serial
number 16153, this cured the screen corruption problem, but the
fading colour problem still remained - by swapping over the
Video boards between the two MTXs, David was able to confirm
that it was a fault on the
video board.
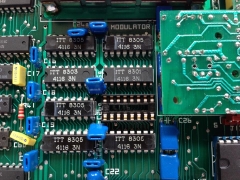
The fading colour
could have been caused by a number of faults, including the
power supply and the analogue components on the video board. The
video board uses a
LM1889N Video Modulator to condition the VDP output for use
on a TV, on most MTX Video Boards, including Dave's faulty
board, this chip is installed in an IC socket so it should have
been easy to swap the modulator between the two boards in an
attempt to isolate the fault. Unfortunately, on the "good"
board, the modulator had been soldered to the board, but since
the easiest, and relatively low cost (under£5) option, was to
change the modulator, Dave bought one to try. Fortunately, this
was indeed the problem and the colour fade problem has been
resolved.
Some details taken from the Facebook Memotech MTX500 group with
contributions from Andy Key, Inaki Castillo and others
|


