|
 |
The Memotech MTX Series |
 |
MTX Keyboard Replacement

When it was new, the Memotech MTX keyboard was possibly the
best keyboard available on any of the home computers of the early
1980s. Thirty years later though, the majority, if not all, MTX
keyboards are showing their age, even if they are fully
functional, they tend to have sticky keys or unpredictable
auto-repeat behaviour - at least mine do. Until now, there has
not been a viable option for replacing the MTX keyboard, but,
things are about to change!
Dick Janssen (Mrinterface) and Farzad Alizadeh are both
working on replacement
keyboards for the MTX, they are sharing ideas, but are building
their own versions of a new keyboard. Dick has posted a preview
of his design in
this thread on the Desk
Thority website. With Dick's permission, I will be
documenting the development of the his design on this page,
which will also host the required files such as CAD and 3D
printer models.
Jump
to latest update
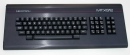
| The Memotech MTX system board is installed in a
brushed aluminium case, with a full travel, 79 key,
keyboard mounted in the upper half of the shell. The
keyboard includes separate numeric keypad, 8
function keypad and two blank keys, either side of
the spacebar, which, when pressed simultaneously,
reset the computer. |
 |
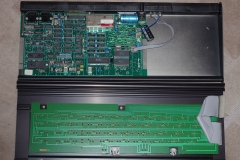
| The system board is fixed to the bottom of the
case and the keyboard PCB is fixed to a steel plate
mounted on the underside of the top of the case.
The grey ribbon cable connects the keyboard PCB
to the main board by plugging into the "J1"
connector above the edge connector on the left hand
side of the main board. |
 |
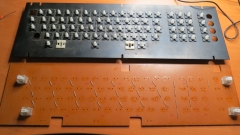
| Close up of the underside of the top half of
Dick's MTX showing the keyboard PCB.
The metal plate for the keyboard is secured to
the top half of the case by 5, M3 bolts which are
located in the groves that can be seen at either
side of the keyboard PCB. |
 |
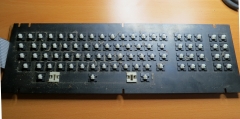
| The keyboard removed from the case and the
keycaps removed to show the steel mounting plate.
Having the keys mounted this way, rather than on
just the PCB alone, gives the keyboard extra
rigidity. |
 |
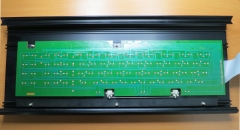
| This is the top side of the keyboard PCB,
separated from the steel mounting plate. Dick's
initial thought was to retain the existing steel
plate and keyboard PCB. In order to separate the PCB
from the steel plate, all of the keys must first be
de-soldered. Dick has now decided to design a new
PCB and mounting plate - so this level of
disassembly is no longer required. |
 |
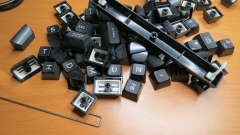
| The Memotech key-caps, which you can see are
Cherry MX style caps. The project's goal is
to reuse the keycaps to preserve the look of the
original MTX keyboard but to replace the keyboard
PCB, metal plate and the existing key switches. |
 |
|
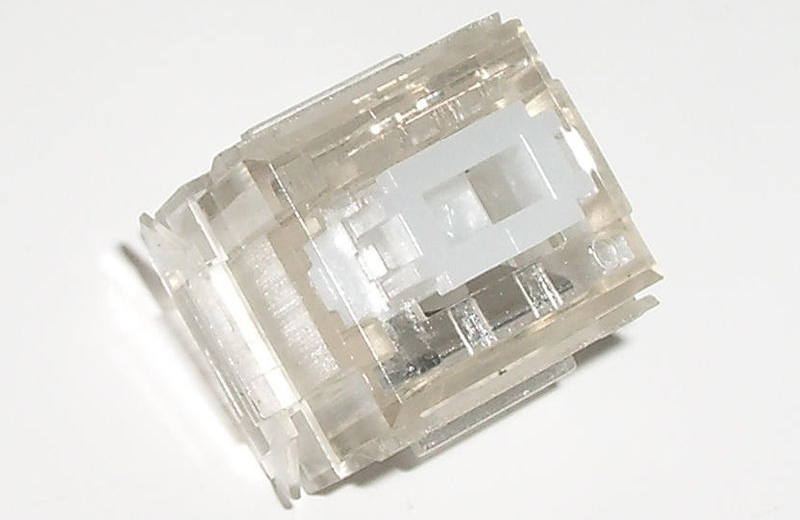
The Alps Electric Company produced the original
Alps
CM key switch used in many computer keyboards.
The original switches are no longer made by Alps,
but clones are still being manufactured by companies
including Matias Corp.
of Canada, mainly for use in their own keyboards.
Matias are making the
Matias Switch available to other
companies/hobbyists and Dick is using these switches
for this project. |
 |
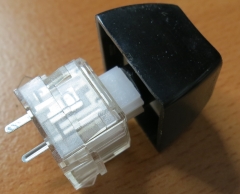
| A close look at the Memotech key-caps and the
Matias switch show the first problem - that of
attaching the keycap to the switch. Dick had
previously used
FreeCAD,
an open source 3D CAD modeller, to design a suitable
adapter for Cherry MX key-caps to fit the Matias
switch body. The same adapters also fit the Memotech
style key-caps. |
 |
| The adapter was prototyped on a 3D printer.
You can see a YouTube video of the adapter being
"printed" here.
Once the design was finalised, the production run
was submitted to
Shapeways. |
 |
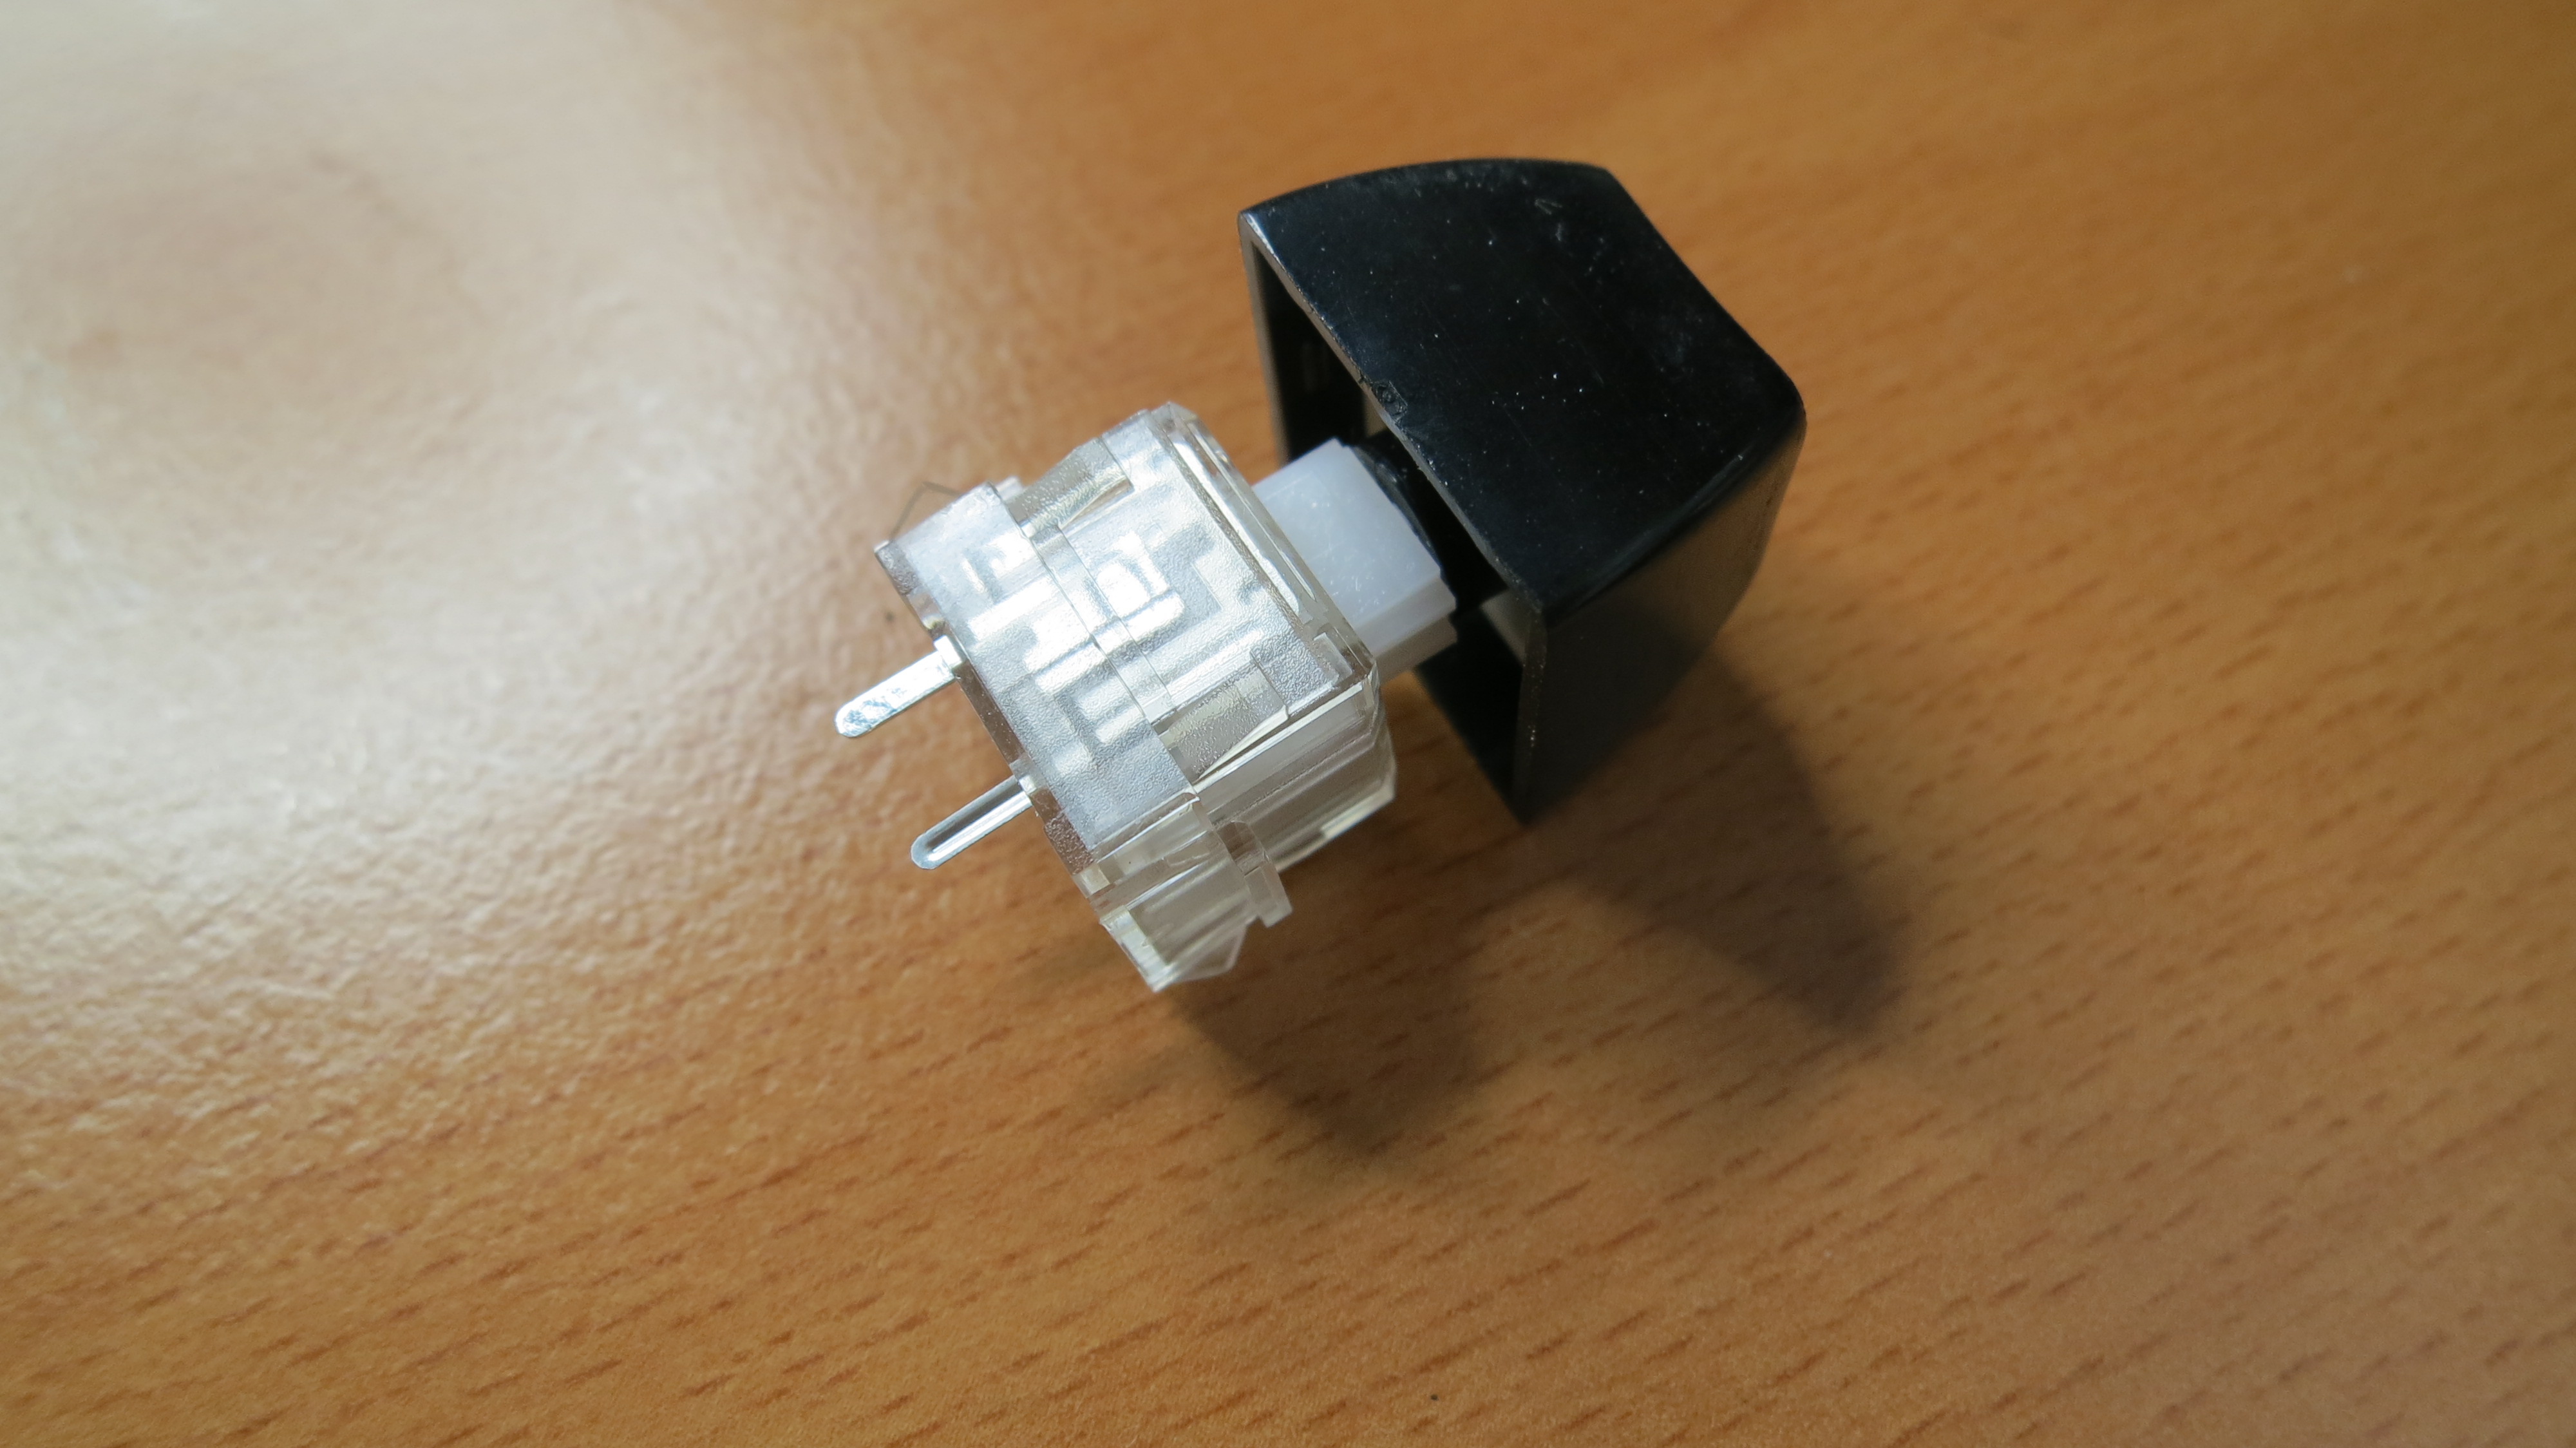
| A MTX key fitted to a Matias switch using the
custom adapter. This photo illustrates the next
problem to be overcome - as shown here, the new keys
will be higher than the old ones meaning that they
would be raised above the existing key level. This
could be overcome by lowering the steel plate
further down into the case, but there is very
limited clearance within the MTX case and this idea
needs further investigation. |
 |
|
Status Update : 09 March 2013
- Design Schematic for PCB. 100% DONE
- Design PCB. 0%
- Design mounting plate. 0%
- Design keycap adapters. 50%
- Order parts and assemble it. 0%
|
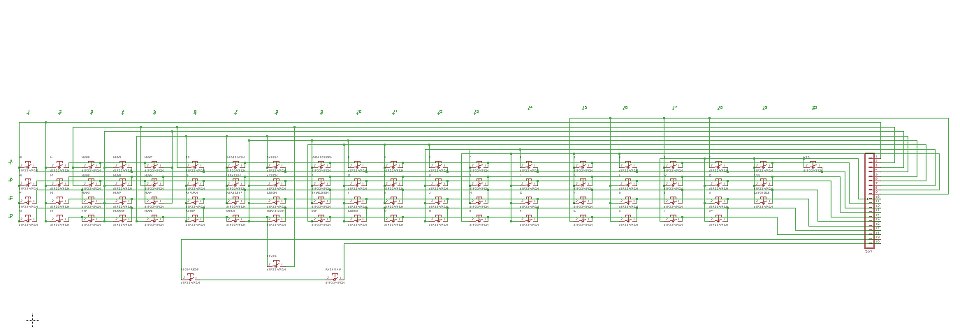
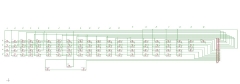
| Status Update : 12 April 2013 Schematic
design in Eagle
PCB Design Software |
 |
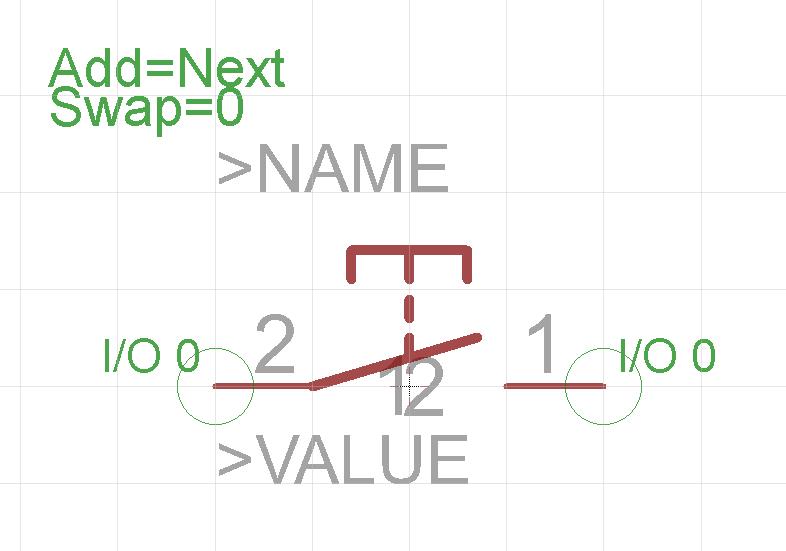
| Status Update : 12 April 2013 Alps
Switch schematic |
 |
| Status Update : 12 April 2013 Alps
Switch footprint for the PCB |
 |
| Status Update : 15 April 2013
It is likely that there will be two versions of the
keyboard design :
- Dick will be using Matias (ALPS) switches
and.
- Farzad will be using Cherry MX switches
|
| Status Update : 5 December 2013
As you can see, there has not been any updates to
Dick's MTX keyboard replacement project for a while.
Dick's time has been taken up by his
ComputerLab
- a project to teach kids how to program their own
computer games (the website is only available in
Dutch).
Dick hopes to revisit the MTX keyboard project in
1Q 2014.
|
 |
"Welcome to the computer
lab!
There are about 50,000 children in
Eindhoven who would like to learn and master
computer technology through having fun. The
computerlab aims to increase the affinity of these
children with computers and technology, and provides
opportunities for faster learning."
(Quoted
from the website, processed with
Google Translate,
mangled by me) |
 |
| Status Update : 10 August
2014 Slightly later than planned, Dick is now
progressing his keyboard project again. [Although a
replacement MTX keyboard is of great interest to us
Memotech devotees, Dick's real aims are bigger than
just creating a new keyboard.]
Taking his
ComputerLab
project a little further, Dick has been looking into
ways to teach the art of 'making' stuff over the
last year and has decided to use the tools provided
by 123D, a free suite of design
software from
Autodesk (of
AutoCAD fame).
Dick describes his future plans . . . . . . "My
plan is to set up shop with a 1 day course in
3D modelling
and 3D printing,
a 1 day course in 2D
modelling and
CNC milling, and a 1 day course
in creating your own electronics PCB together with
basic electronics knowledge.
In order for me to be able to teach this, I need
to get myself some knowledge about the tools
themselves and what a nice project this MTX keyboard
is! I need to create the
schematic and
PCB, I
need to create a mounting plate in 2D and have it
milled, I also need to create 3D custom keycap
adapters with 123D
Design. So with this 1 project I'm
getting familiar with 3 tools. When the project is
done, I'll create tutorial videos about the subject
and post them on 040-makelab.nl
" [Dead Link] The drivers for using 123D were :-
- Free
- Multiplatform ( most tools are browser based
)
- If you get used to using any one tool from
the toolset, you can easily transfer to a more
elaborate tool like KiCad or Blender since the
underlying design principles are the same. So
the tools are not as feature rich as other (
free ) tools, but they have the lowest entry
level barrier I found on the market today
- Sharing and collaborating on designs is very
easy.
|
|
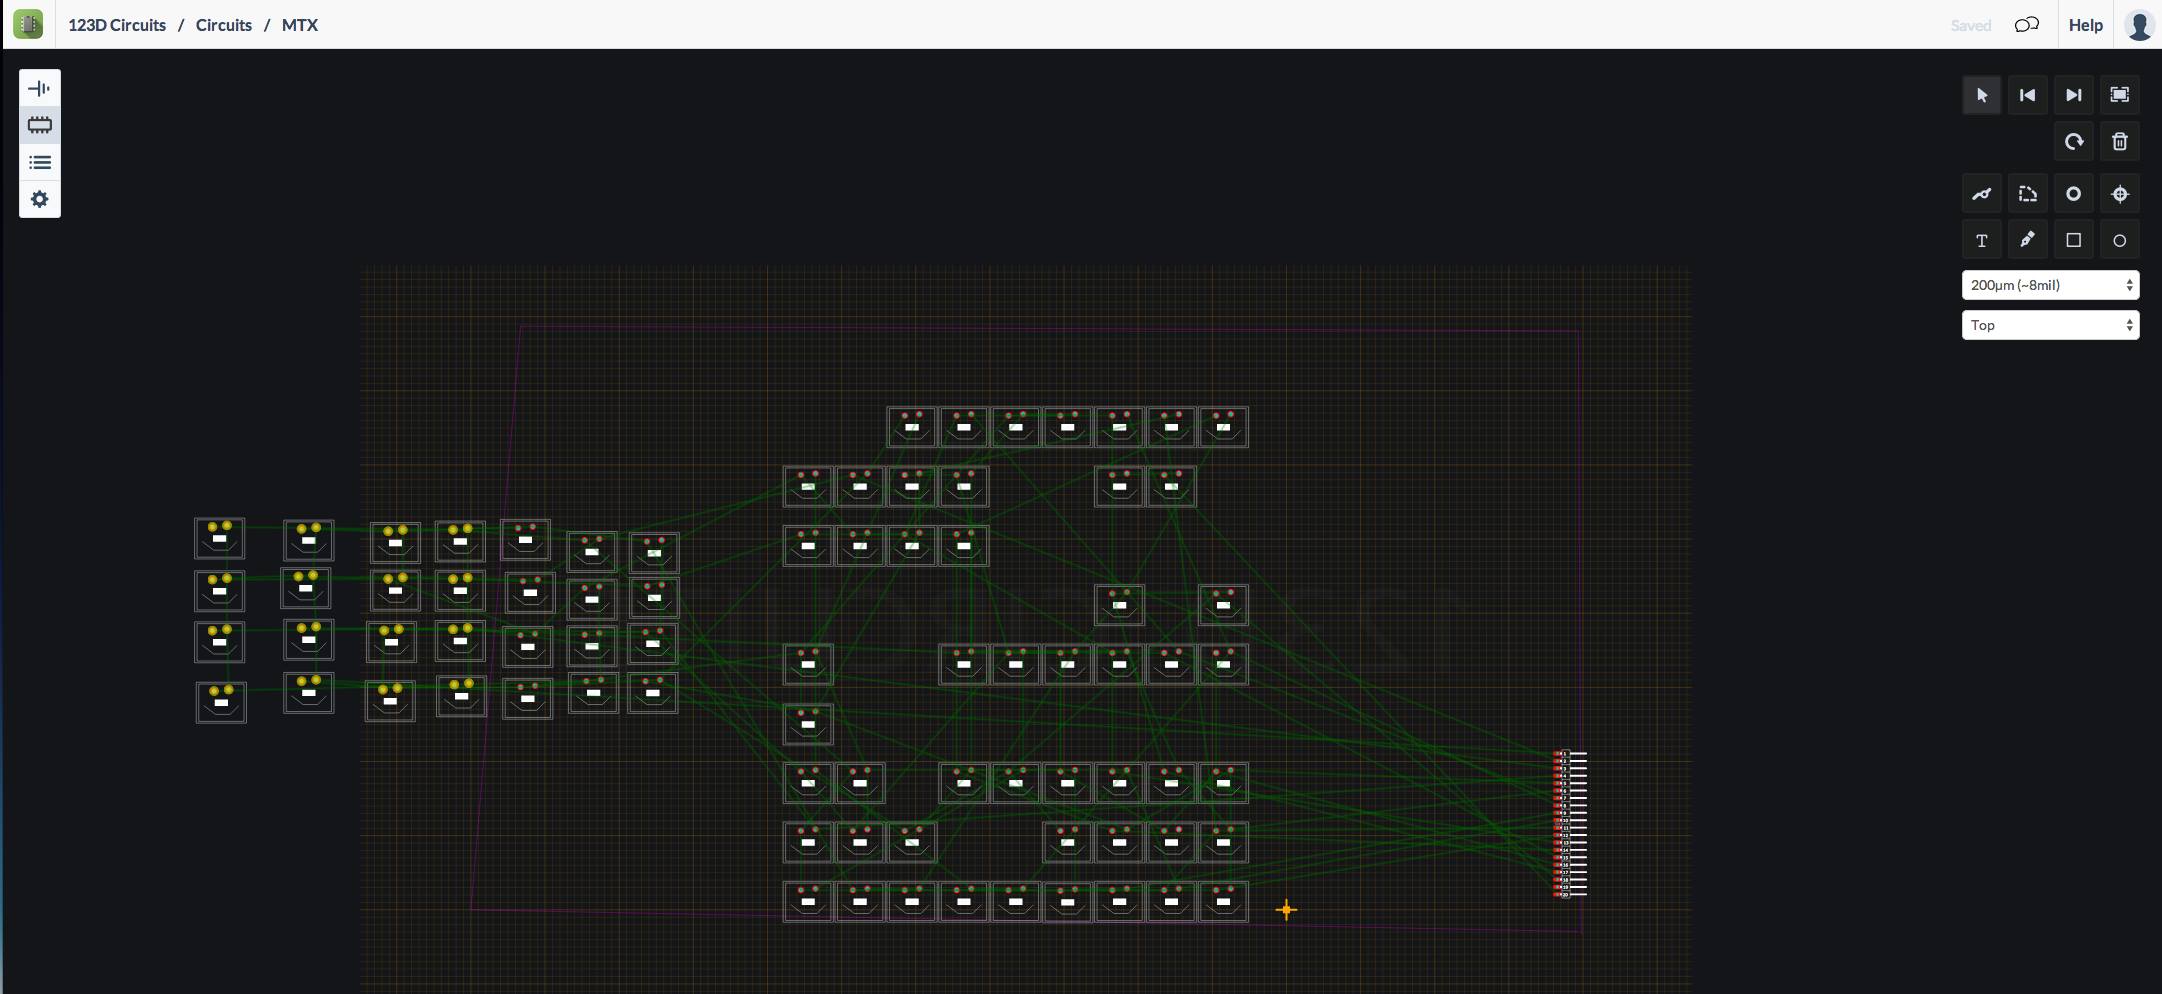
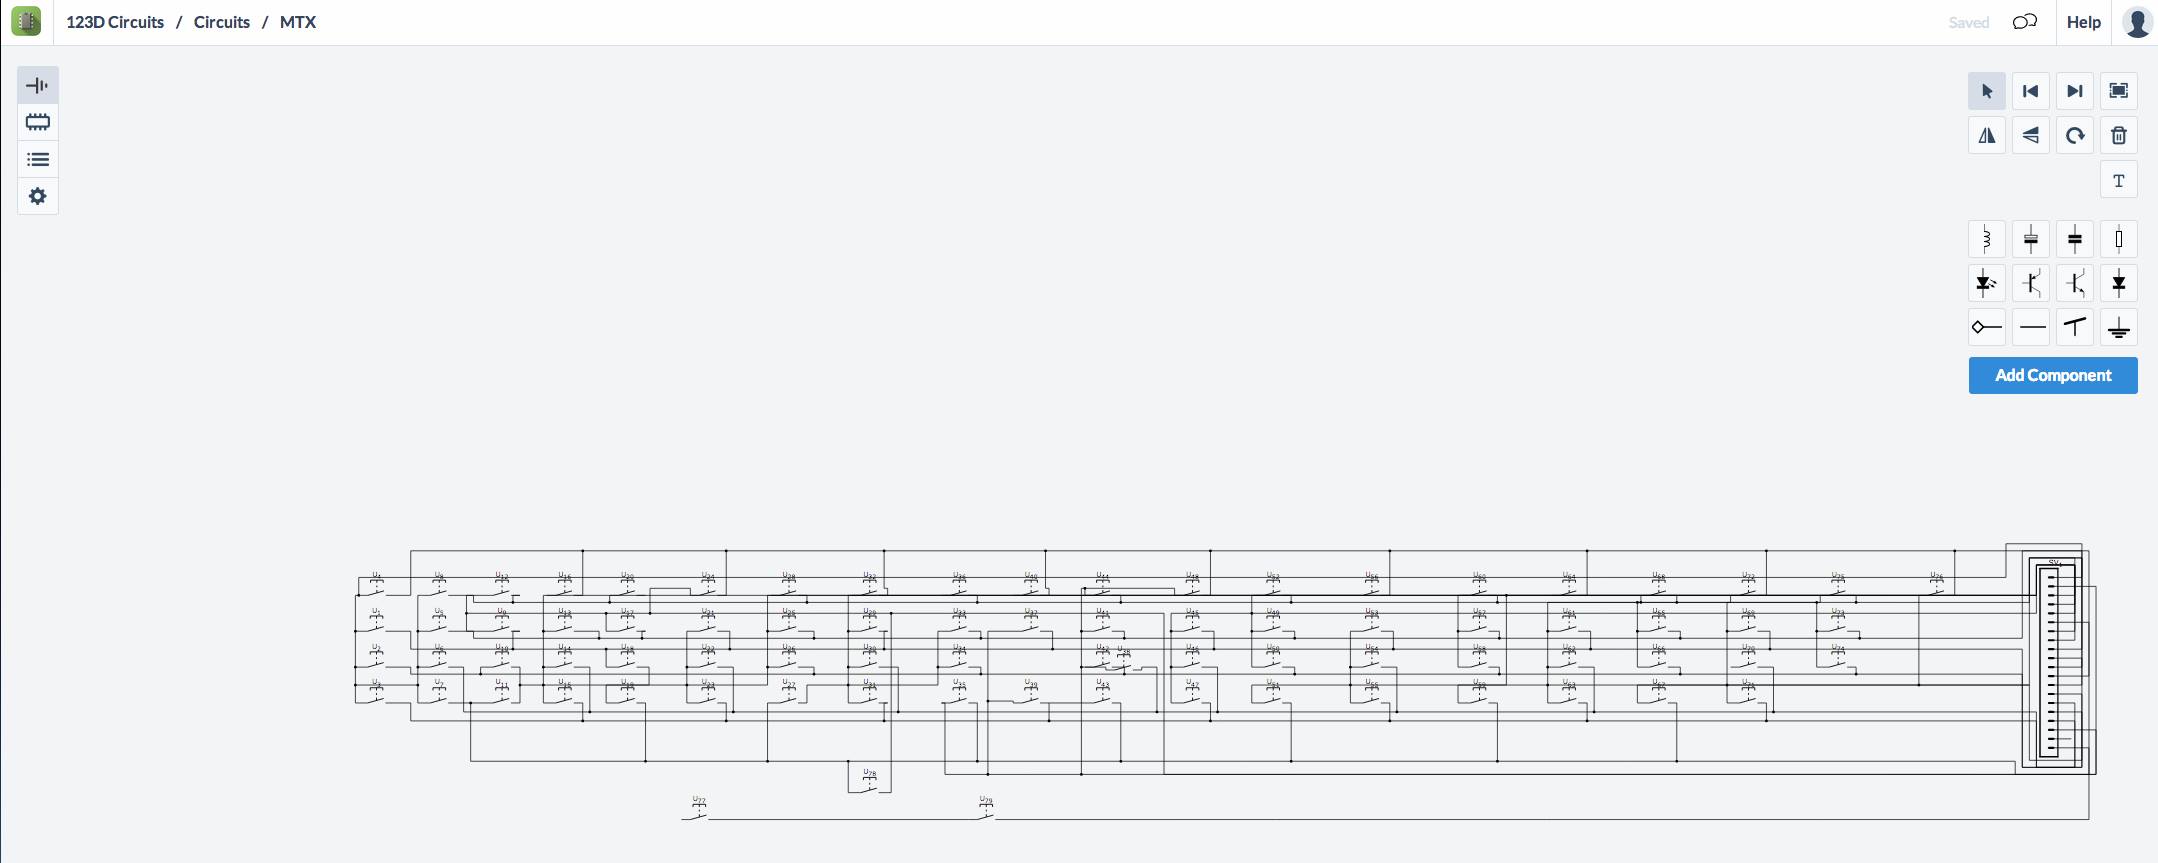
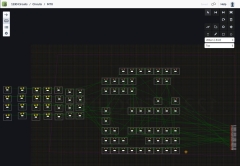
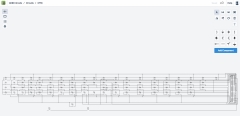
| Therefore, the
Eagle files have now been imported into
123D Circuits. |
 |
|
 |
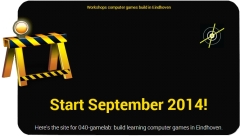
| The current
ComputerLab
website will be renamed
040-gamelab.nl The two new websites will go
live in September and Dick's plan is to have
everything in place by the end of this year.
[ For info, "040" is the phone area code for
Eindhoven ] |
 |
 |
| Status Update : 22 August
2014 Despite its early promise, Dick won't now
be using the 123D tools for the PCB
and the adapters. [Dick] "tried and found so many
problems I could not get it the way I wanted it to.
123D tools are still very good for entry level work,
but my work on the keyboard is more difficult than
these tools can handle.
So I will be using
KiCad for
the PCB design and a combination of
FreeCad and
Blender for
the adapter design. |
|
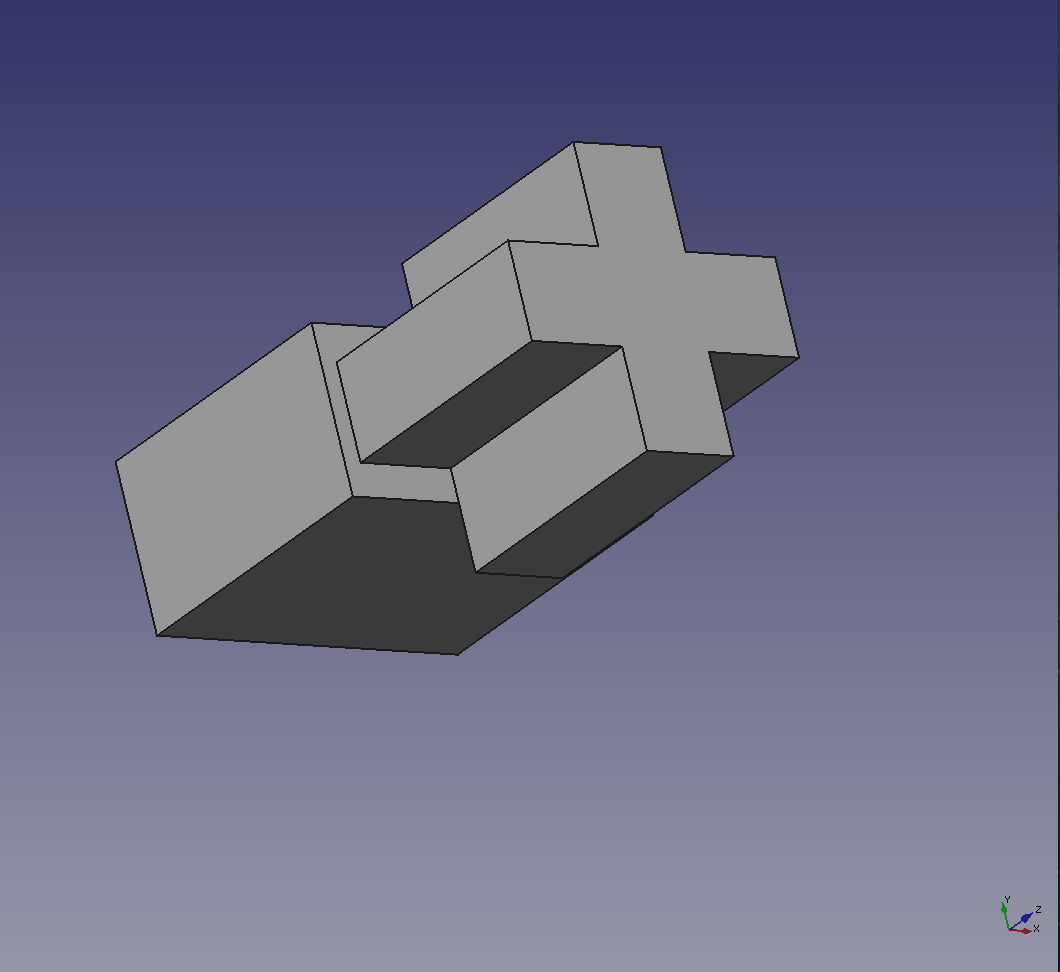
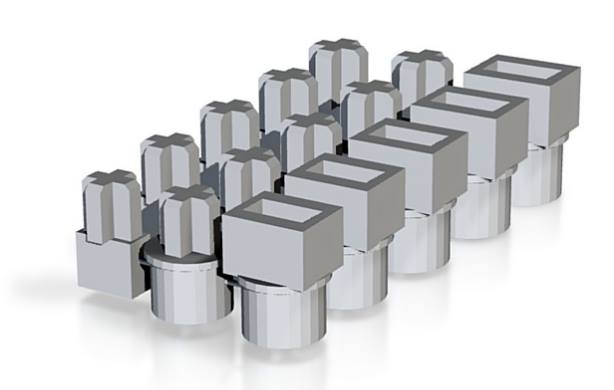
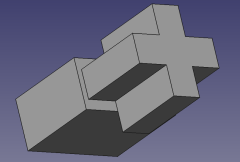
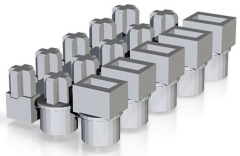
| Status Update : 23 August
2014 The 3D model for the redesigned keycap
adapter. The middle row adapter is for the Memotech
MTX. (The other ones are for Cherry MX to Alps and
Alps to Cherry MX).
The model is currently being 3D printed by
Shapeways. |
 |
|
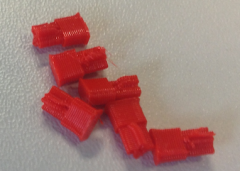
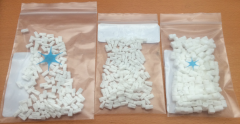
Status Update : 09 October
2014 The parts are back form Shapeways, but
Dick is struggling to find the time to test them, so
has roped in some
volunteers to test the results. |
 |
| |
|
| |
|
| |
|
| |
|
| |
|
|
 |
|