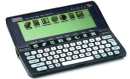
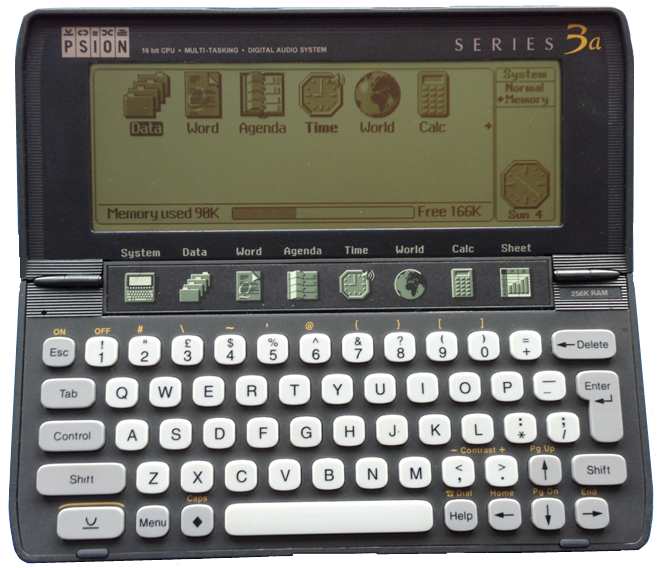
The Psion 3a was released in released in
1993,with a 7.68 MHz NEC V30H (80C86) CPU and a choice of
either 256kb or 512kb RAM models, 1Mb and 2Mb models were
added in 1995. The page provides details of how a 256k Psion
3a can be upgraded to 512kb.
|
Step |
Disassembly |
|
1 |
Remove the main and backup batteries from the device. |
 |
|
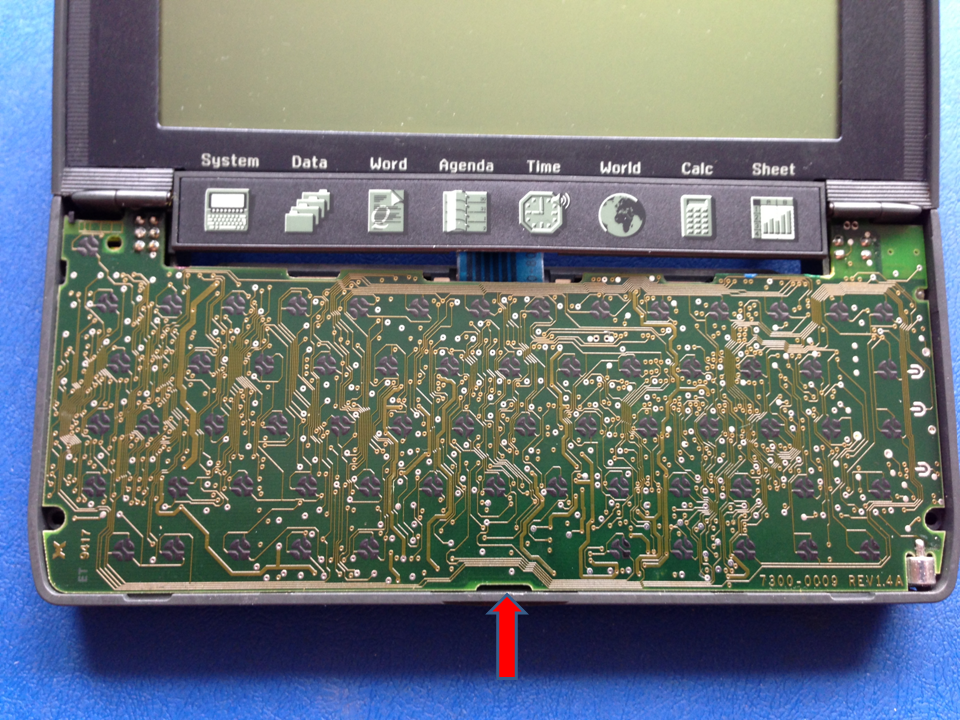
2 |
Using a suitable cross-headed screwdriver, remove
the four screws as indicated by the arrows. |
|
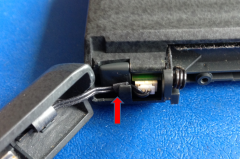
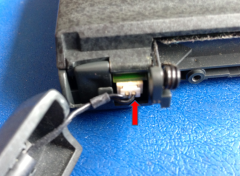
3 |
Carefully lift the battery cable over catch. |
 |
|
4 |
Remove the plastic battery connector from the main
board by pulling the edges of the plastic connector. |
 |
|
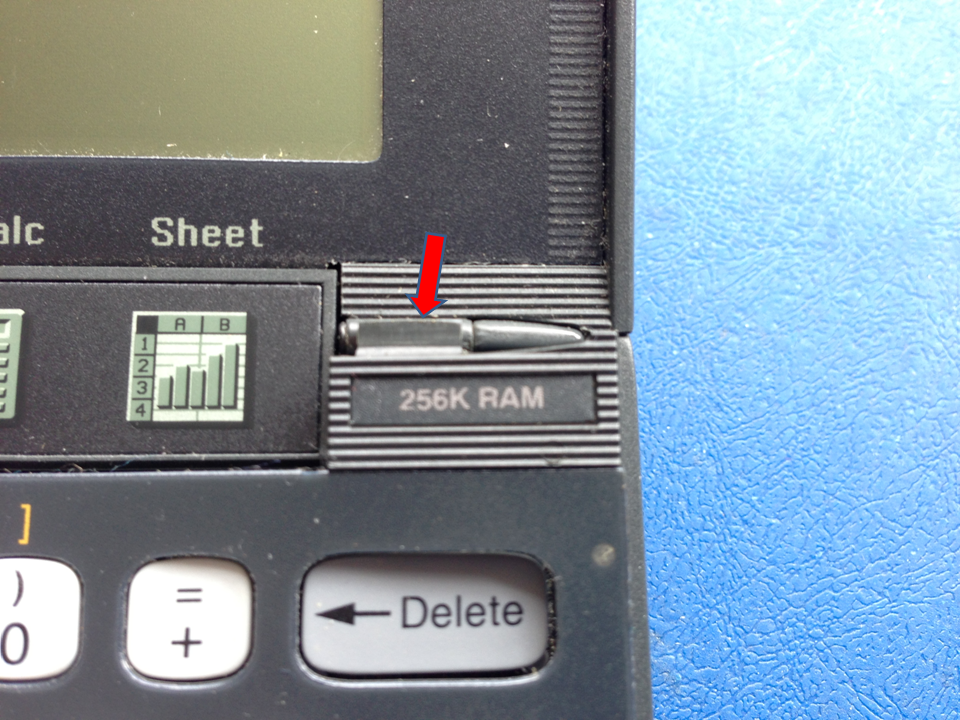
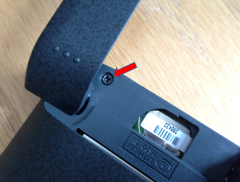
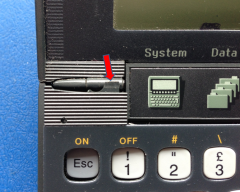
5 |
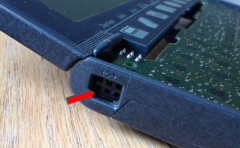
Open SSD slot B and remove the screw |
 |
|
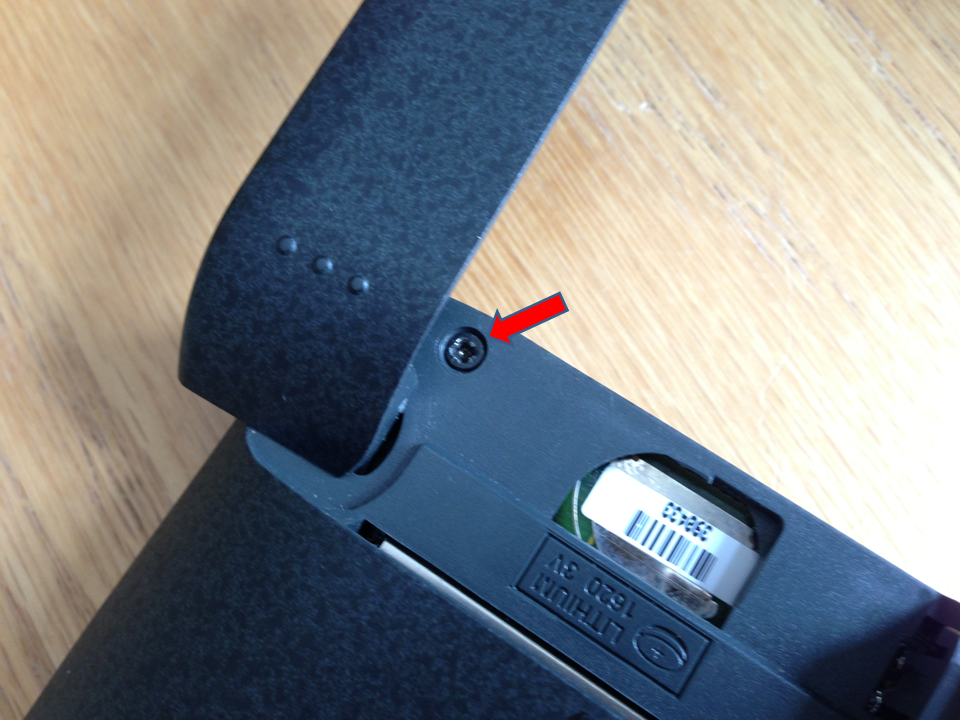
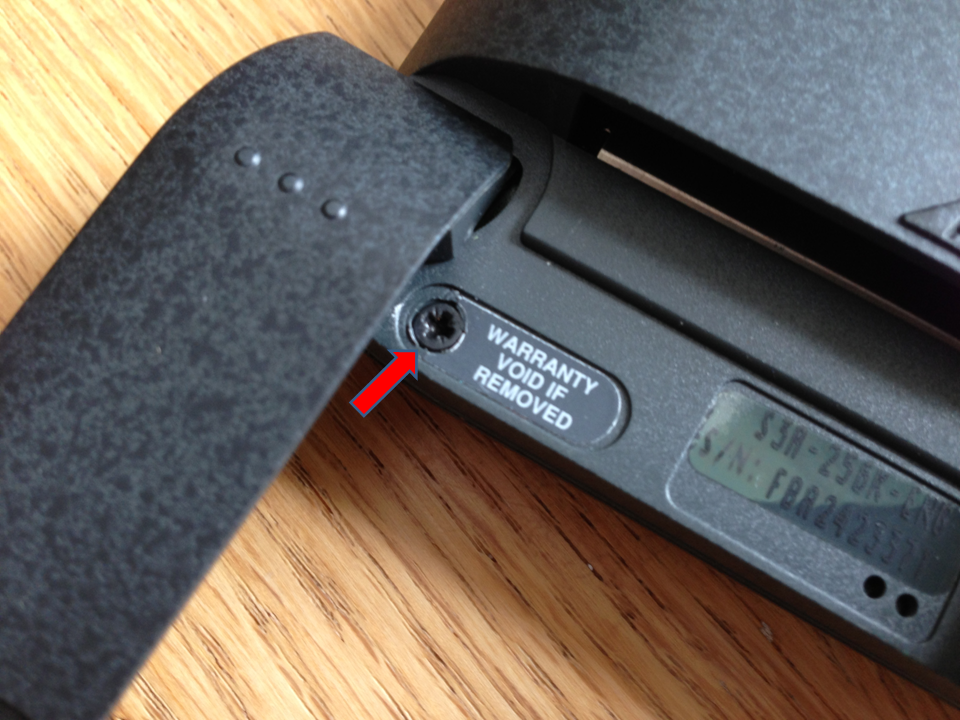
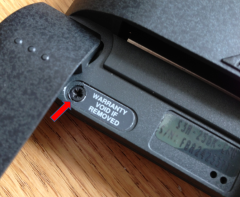
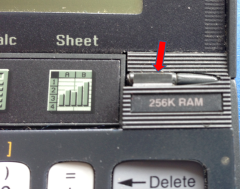
6 |
Open SSD slot A and remove the screw. You'll
probably have to remove the warranty label to do
this, if not already removed. |
 |
|
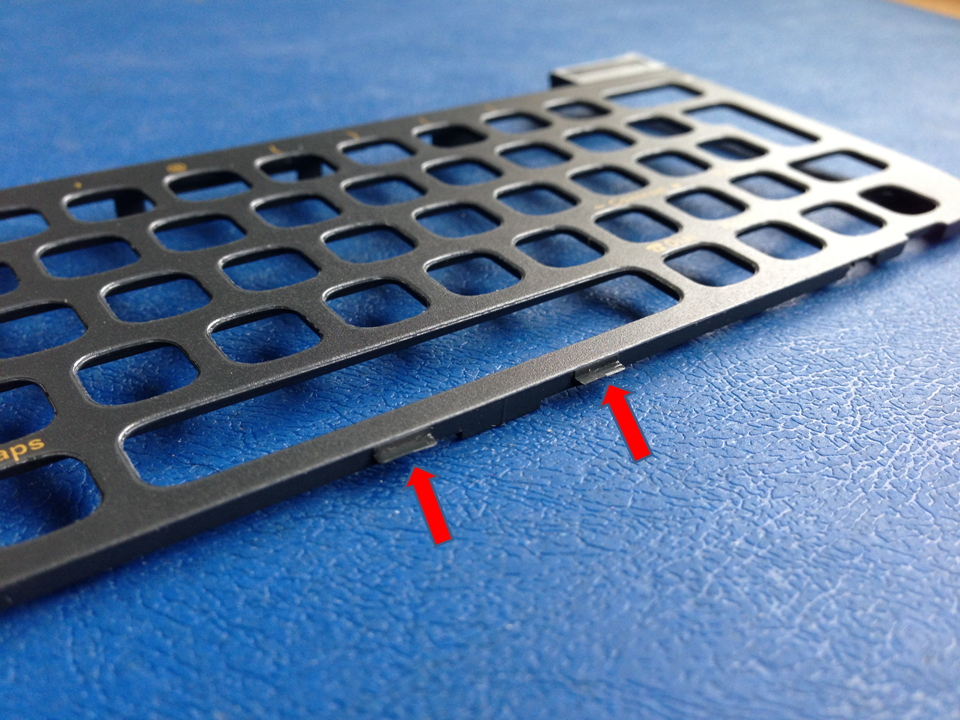
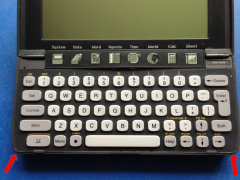
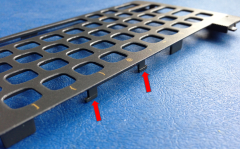
7 |
Working at one side at a time, lift the keyboard
from the bottom case as indicated by the arrows.
I found inserting a small screwdriver into the
vacated SSD screw holes pushed the keyboard cover up
so I could then get my fingers in. |
 |
|
8 |
This is the tricky bit.
You now need to pull the keyboard cover forward
and up so the small plastic tab comes out from under
the hinge. |
 |
|
9 |
Repeat on the other side. |
 |
|
10 |
These tabs now need to be released.
I found the safest way is by using a small
flat-head screwdriver working underneath the button
bar as it's now bowing due to the spring pressure. |
 |
|
11 |
The top area of the keyboard released. |
 |
|
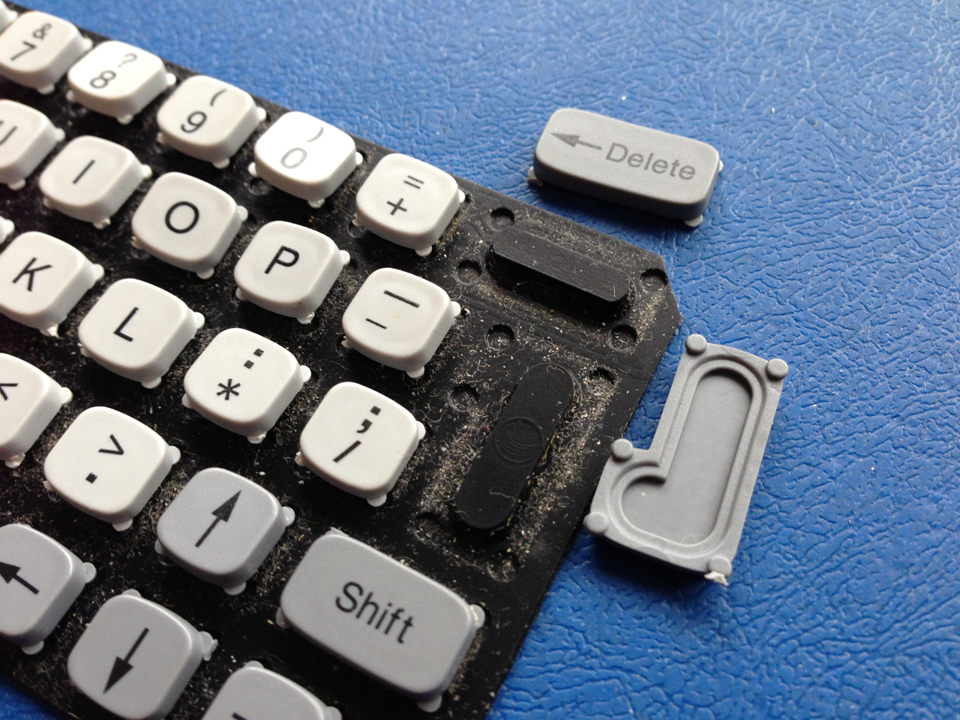
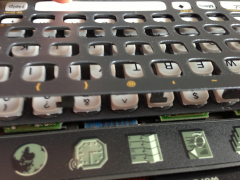
12 |
The remaining 2 tabs on the bottom part of the
keyboard cover need to be released.I found that
carefully removing the rubber keyboard membrane,
together with the keys, makes the operation easier.
I have come across two types of keyboard, one with
the keys stuck to the rubber membrane, and the other
not, so be careful when you do this. |
 |
|
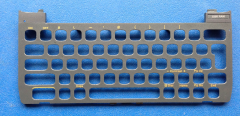
13 |
Now gently pull the cover away from the case.
Sliding a thumb between the cover and case can help.
The removed cover. |
 |
|
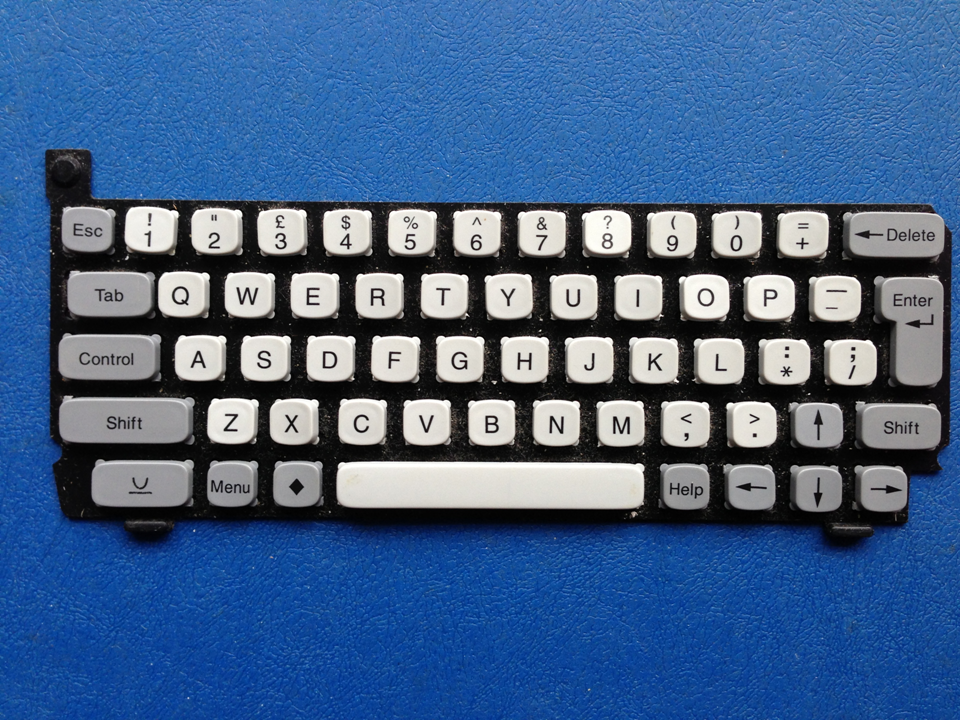
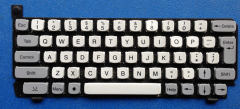
14 |
The removed membrane & keys. |
 |
|
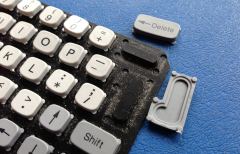
15 |
With this type the keys aren't stuck to the
membrane. |
 |
|
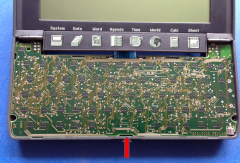
16 |
To remove the main board, carefully lift the front
by inserting a small screwdriver into the slot shown
by the arrow, trying not to use too much pressure as
it may damage the plastic rim. |
 |
|
17 |
Once the main board front is lifted, push the 3-link
plastic shutter in. |
 |
|
18 |
You should now be able to remove the board. |
 |
|
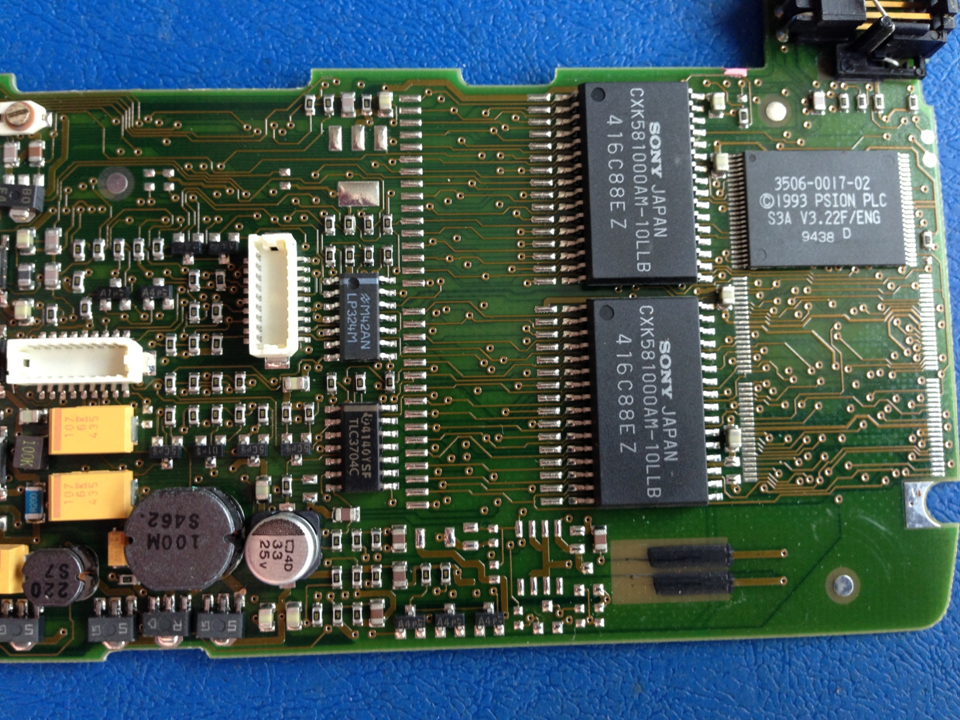
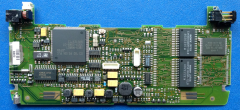
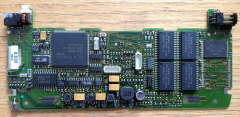
19a |
256K Main board. |
 |
|
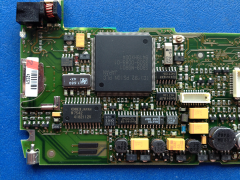
19b |
The large square package on the left hand side of
the board is the Psion custom
ASIC that is the heart of the 3a. |
 |
|
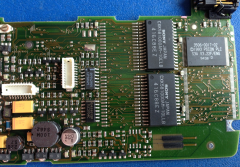
19c |
The chip on the far right is the ROM chip.
Inboard of the ROM are the SRAM chips The 256k
version has two SRAMs installed, with spare solder
pads for two
more where the additional memory for this upgrade
will be installed. |
 |
|
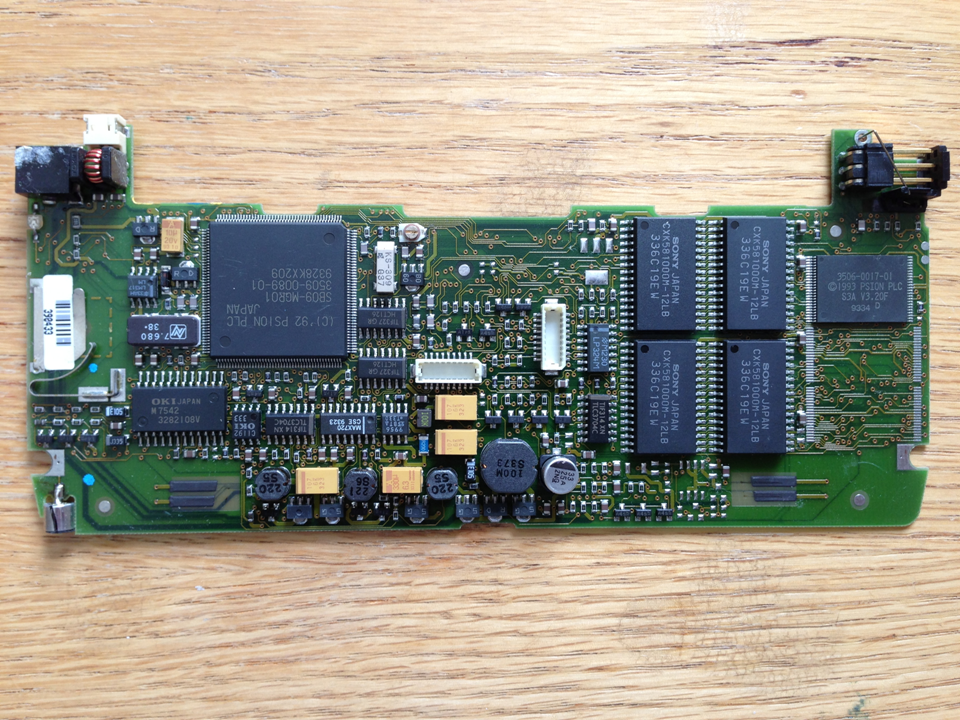
20 |
Following
the guide here :
http://www.home.unix-ag.org/nils/s3a_512kb.html
I found
some Hitachi 628128 memory on eBay. I was unable to
find any of the original Sony ones. Once delivered I
carefully soldered them into place. |
 |
|
21 |
I checked every soldered connection five or six
times and re-assembled the device, which is the
reverse procedure. Be careful closing it as the
bowed button bar can catch, so push it flat as you
do this. When I powered it up everything look
promising, but as soon as I opened an app, I saw the
message "Memory corruption". I took it
apart and checked the soldering again, but it all
looked as it should, so all I can think of is it's
incompatible memory. |
|
22 |
A week or so later I saw a 512K 3a on eBay with a
faulty screen. That'll do nicely I thought, and won
it for £2.99. I swapped main boards and now have a
working 512K. |
 |
|
23 |
............or so I thought............. |
|
|
|
. . . . to be continued . . . . |
|